Why is My Shark Robot Vacuum Not Charging
Your shark robot vacuum may not be charging due to a faulty power source or charging dock.

Credit: www.digitaltrends.com
Understanding The Basics
How Does A Shark Robot Vacuum Charge?
A shark robot vacuum relies on charging to carry out its cleaning duties effectively. Understanding how the vacuum charges can help troubleshoot any issues you may encounter. Here’s a breakdown of the charging process:
- The shark robot vacuum is equipped with a rechargeable lithium-ion battery that powers its cleaning functions.
- When the vacuum’s battery level drops to a certain threshold, it automatically returns to its charging dock.
- The charging dock provides a dedicated spot for the vacuum to dock and recharge.
- Once the vacuum is docked, it connects to the charging pins on the dock, allowing for the transfer of power from the dock to the vacuum.
- The vacuum’s battery begins to recharge, ensuring it has enough power for its next cleaning session.
Common Reasons For The Vacuum Not Charging
Encountering issues with your shark robot vacuum not charging can be frustrating. However, several common factors could be contributing to this problem. Here are some possible reasons why your vacuum may not be charging:
- Loose connections: Check if the charging pins on the dock and vacuum are securely connected. Loose connections can prevent the transfer of power.
- Dirty contacts: Over time, dust and dirt can accumulate on the charging pins and contacts, interfering with proper charging. Clean the charging pins and contacts regularly to ensure a solid connection.
- Power supply issues: Verify that the charging dock is receiving power by checking the electrical outlet. Ensure that the dock is securely plugged in.
- Faulty charging dock: In some cases, the charging dock itself may be the problem. If you’ve ruled out all other possibilities, consider contacting shark customer support for assistance.
Importance Of Proper Charging For Optimal Performance
Properly charging your shark robot vacuum is crucial for maintaining its optimal performance. Here’s why:
- Extended battery life: Regular and correct charging helps to extend the lifespan of your vacuum’s battery. This means longer cleaning sessions before needing to recharge.
- Consistent cleaning schedules: When the battery is fully charged, your robot vacuum is ready to tackle its cleaning tasks promptly. Proper charging ensures that it can effectively follow its cleaning schedule.
- Efficient cleaning performance: A fully charged vacuum is equipped to provide a thorough and efficient cleaning experience. It can navigate through your home without interruptions due to low battery levels.
Maintaining an adequately charged shark robot vacuum is essential to enjoy its full capabilities. By understanding the basics of how it charges, recognizing common charging issues, and emphasizing proper charging practices, you can optimize the performance of your vacuum and keep your home clean with ease.
Checking The Power Supply
Is your shark robot vacuum experiencing charging issues? Before panicking, there are a few simple steps you can take to troubleshoot the problem. Start by checking the power supply, which includes the power outlet, power cord, and charging dock. Here’s what you should do:
Ensuring The Power Outlet Is Functional
Ensure that your power outlet is working properly. Sometimes, the issue lies with the outlet rather than the vacuum itself. Here’s what you can do:
- Plug another device into the same outlet to check if it’s receiving power.
- If the other device works, then the outlet is functional. In this case, move on to the next step.
- If the other device doesn’t work, try plugging the vacuum into a different outlet that you know is functioning correctly.
Checking The Power Cord For Any Damages
The power cord connects your shark robot vacuum to the power outlet, so any damages to the cord can hinder the charging process. Follow these steps to inspect the power cord:
- Examine the entire length of the cord for any visible signs of fraying, cuts, or other damages.
- If you notice any damages, it is crucial to replace the cord, as continuing to use it can be hazardous.
- If the cord appears to be in good condition, proceed to the next step.
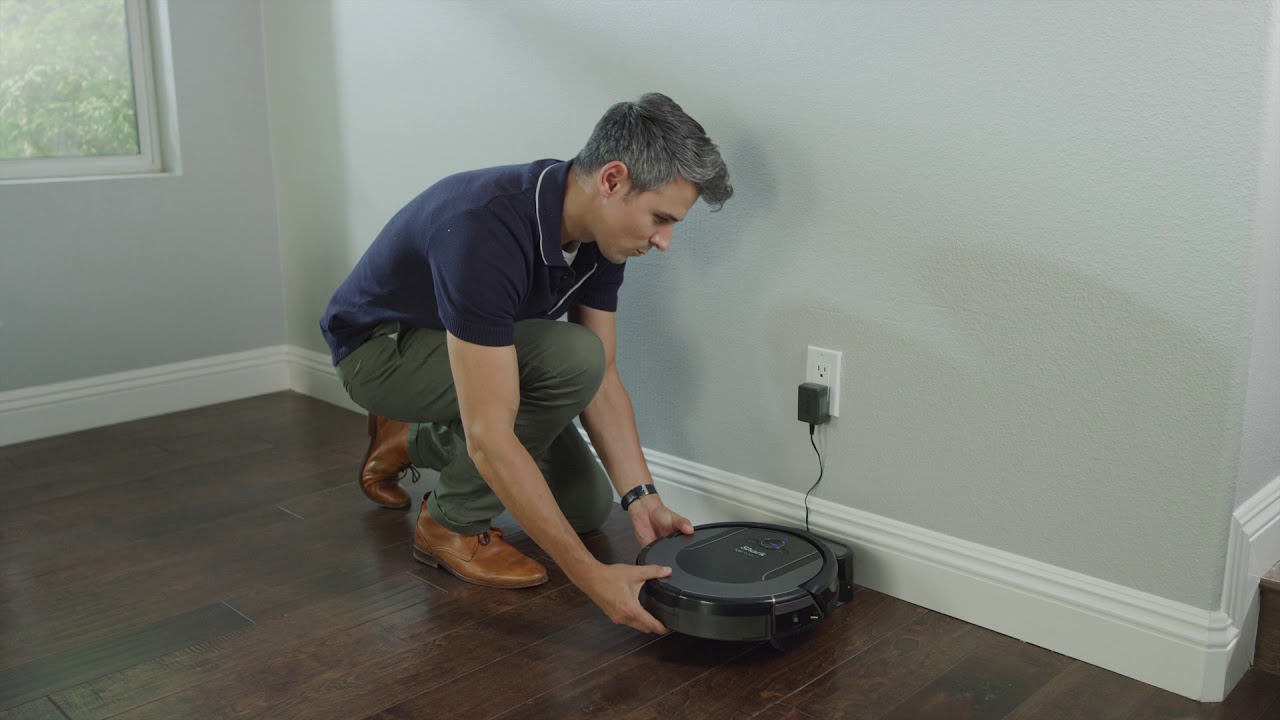
Verifying The Charging Dock Is Working Properly
The charging dock is where your shark robot vacuum sits to recharge. If the charging dock is not functioning correctly, your vacuum may have trouble charging. Follow these steps to determine if the charging dock is the culprit:
- Ensure that the charging dock is properly plugged into a functioning power outlet.
- Check if the charging contacts on both the dock and the vacuum’s base are clean and free of any debris.
- If the charging contacts appear dirty, gently clean them with a soft cloth or cotton swab dampened with a mild cleaning solution.
- Make sure the vacuum is properly aligned with the charging dock. If it is slightly off-center, it may not make a connection and won’t charge.
- If you have followed all these steps and the vacuum still doesn’t charge, it may be necessary to contact customer support for further assistance.
By following these steps and checking the power supply components of your shark robot vacuum, you can troubleshoot charging issues effectively.
Troubleshooting The Battery And Charging Components
Examining The Battery Condition And Connections
When your shark robot vacuum is not charging, the first step in troubleshooting is to examine the battery condition and connections. Here’s what you need to do:
- Check the battery level: Ensure that the battery is not completely drained. If it has been sitting unused for a while, it may need to be charged for at least 3 hours before use.
- Inspect the battery connections: Make sure the battery is properly seated and securely connected to the vacuum. Loose connections can prevent the battery from charging effectively. Ensure that there is no debris, dust, or corrosion on the battery contacts.
- Look for visible damage: Examine the battery for any signs of physical damage. If you notice any cracks, leaks, or bulges, it may indicate a faulty battery that needs replacement.
Resetting The Robot Vacuum
If examining the battery and connections doesn’t solve the charging issue, try resetting your shark robot vacuum. Follow these steps:
- Power off the vacuum: Switch off the power button on the vacuum or unplug it from the charging dock.
- Locate the reset button: Look for a small reset button on the robot vacuum. It is usually located on the bottom or side of the device.
- Press and hold the reset button: Using a small tool or a paperclip, press and hold the reset button for 10-15 seconds.
- Release the button: After holding the button, release it and wait for a few seconds.
- Power on the vacuum: Plug the vacuum back into the charging dock or press the power button to turn it on.
Resetting the robot vacuum can often resolve charging issues by restarting the system and clearing any temporary glitches.
Cleaning The Charging Contacts For Better Connection
If your shark robot vacuum still refuses to charge, it’s time to clean the charging contacts. Over time, dirt, dust, and debris can accumulate on the contacts, hindering the charging process. Follow these steps to clean them:
- Disconnect the vacuum: Unplug the vacuum from the charging dock and ensure it is turned off.
- Locate the charging contacts: Examine the bottom of the vacuum and the charging dock for metal contacts. These are responsible for transferring power during charging.
- Clean with a soft, dry cloth: Gently wipe the charging contacts on both the vacuum and the charging dock using a dry cloth. Remove any visible dirt or debris buildup.
- Use a contact cleaner: If the contacts are heavily soiled or corroded, you can use a specialized contact cleaner. Apply a small amount to a clean cloth and gently rub the contacts.
- Reconnect and charge: After cleaning, reconnect the vacuum to the charging dock and allow it to charge for a few hours. Check if the charging issue has been resolved.
By cleaning the charging contacts, you can ensure a better connection between the vacuum and the charging dock, allowing for proper charging functionality.
Solving Common Charging Issues
Having trouble getting your shark robot vacuum to charge properly? Don’t worry, we’ve got you covered. In this section, we’ll discuss some common charging issues and provide you with solutions to get your vacuum up and running again.
Dealing With A Dead Battery
If your shark robot vacuum is not charging at all, you might be dealing with a dead battery. Here’s what you can do to address this issue:
- Make sure the vacuum is properly connected to the charging dock. Check if the charging pins on the vacuum and dock are clean and free from any debris or obstruction.
- Verify if the charging dock is functioning correctly by connecting it to a power source and checking if the indicator lights are on.
- If your vacuum has been in storage for an extended period without use, the battery may have discharged completely. In this case, allow the vacuum to charge for at least 3-4 hours before attempting to use it.
Handling Charging Errors And Notifications
Sometimes, your shark robot vacuum might display charging errors or notifications that hinder the charging process. Here’s how to handle these situations:
- When you see an error message on your vacuum’s display, consult the user manual or manufacturer’s website to identify the specific problem and recommended solution.
- If the vacuum displays a low battery notification, connect it to the charging dock immediately to recharge the battery. Make sure the dock is plugged into a functioning power outlet.
- Ensure that the vacuum and charging dock are not overheating during the charging process. Place them in a well-ventilated area to prevent overheating issues.
Addressing Issues With The Charging Dock
Sometimes, the problem with charging your shark robot vacuum lies with the charging dock itself. Here are a few things you can try to resolve any issues:
- Check if the power cord connected to the dock is secure and properly plugged into a power outlet. Loose connections can prevent the dock from charging the vacuum.
- Inspect the charging contacts on both the dock and vacuum for any dirt, debris, or corrosion. Clean them gently with a soft, dry cloth to ensure a good connection.
- If the dock’s indicator lights are not turning on, try plugging it into a different power outlet to rule out any electrical issues.
- Consider resetting the dock by unplugging it for a few seconds and plugging it back in. This can sometimes resolve minor glitches.
With these troubleshooting steps, you should be able to resolve most common charging issues with your shark robot vacuum. Remember to consult the user manual or contact customer support if you encounter persistent problems. Happy vacuuming!
Maximizing Battery Life And Performance
Shark robot vacuums are an innovative and convenient way to keep your home clean. However, if your shark robot vacuum is not charging properly, it can be frustrating and hinder its performance. Maximizing the battery life and performance of your shark robot vacuum is essential for efficient cleaning.
Here are some tips to help you achieve optimal battery life and performance:
Tips For Extending The Battery Life
- Avoid frequent full discharges: Full discharges can strain the battery and reduce its lifespan. It is recommended to avoid letting the battery fully drain before recharging it.
- Opt for shorter cleaning cycles: Limiting the cleaning cycles to shorter durations can help conserve battery life. If your vacuum has different cleaning modes, choose one that meets your cleaning requirements while minimizing battery usage.
- Keep your vacuum in clean condition: Regularly clean the brushes, filters, and sensors of your shark robot vacuum. A clogged vacuum can put additional strain on the battery and decrease its efficiency.
- Avoid high-pile carpets: High-pile or shaggy carpets can increase the workload on the vacuum’s motor, leading to higher energy consumption and reduced battery life. If possible, avoid prolonged use on such surfaces.
- Minimize obstacles: Clear the cleaning area of any potential obstacles that could hinder your robot vacuum’s movement. Clear paths will allow the vacuum to operate more efficiently, reducing the battery usage.
Proper Maintenance For The Robot Vacuum
- Clean the sensors: Dust and debris can accumulate on the sensors, impacting their functionality and accuracy. Regularly wipe the sensors with a soft, lint-free cloth to ensure optimal performance.
- Empty the dustbin regularly: A full dustbin can interfere with the suction power, causing the vacuum to work harder, draining the battery faster. Empty the dustbin after each cleaning cycle to maintain efficient performance.
- Check for obstructions: Periodically inspect the vacuum for any blockages in the brushes, rollers, or air passages. Clearing any obstructions will help maintain proper airflow and prevent strain on the battery.
- Replace worn-out parts: Over time, the brushes, filters, and other components of your shark robot vacuum may wear out. Regularly check and replace these parts as needed to ensure optimal performance and battery life.
Optimal Charging Practices
- Use the provided charger: Always use the charger provided by shark for your robot vacuum. Using a different charger can potentially damage the battery or lead to charging issues.
- Connect directly to the power source: Avoid using extension cords or power strips when charging your shark robot vacuum. Connecting it directly to a power outlet provides a stable power supply and ensures efficient charging.
- Let the battery cool down: If you’ve just finished a cleaning cycle, give the robot vacuum some time to cool down before initiating the charging process. Charging a hot battery can negatively affect its performance and lifespan.
- Follow recommended charging times: Shark robot vacuums have specific charging time recommendations mentioned in their user manuals. It is advised to follow these guidelines to maintain the battery’s health and ensure optimum performance.
By following these tips for extending battery life, proper maintenance, and optimal charging practices, you can enhance the overall performance of your shark robot vacuum. Remember, a well-maintained vacuum with a healthy battery will deliver efficient cleaning results and keep your home looking spotless.
Seeking Professional Help
If your shark robot vacuum is not charging despite your best efforts, it might be time to seek professional help. Here are some key points to keep in mind:
- When to contact customer support:
- If you have followed the troubleshooting steps provided in the user manual and your shark robot vacuum still doesn’t charge, it’s time to reach out to customer support.
- Contact customer support if you have attempted charging the vacuum with different power outlets and it still fails to charge.
- If you have tried using a different charging dock or power cord and the issue persists, it’s advisable to contact customer support.
- Warranty information and service options:
- Check your warranty period to determine if your shark robot vacuum is still covered. If it is, you may be eligible for a repair or replacement.
- Contact customer support or refer to the warranty information provided to understand the available service options for your specific model.
- Depending on the warranty terms, you may need to provide proof of purchase or register your product to avail of warranty services.
- Finding authorized repair centers:
- If your vacuum is no longer covered under warranty, you can still seek professional help by finding authorized repair centers.
- Visit the official shark website or contact customer support to inquire about authorized repair centers in your area.
- Authorized repair centers have trained technicians who specialize in fixing shark robot vacuums and can diagnose and resolve charging issues.
Remember, seeking professional help can often be the best course of action when your shark robot vacuum is not charging. Don’t hesitate to reach out to customer support, explore warranty options, or find authorized repair centers to get your vacuum up and running again.
Frequently Asked Questions For Why Is My Shark Robot Vacuum Not Charging
Why Is My Shark Robot Vacuum Not Charging?
There could be several reasons why your shark robot vacuum is not charging. Check the power source, make sure the charger is properly connected, and inspect the charging port for any damage.
How Can I Fix My Shark Robot Vacuum Not Charging?
First, try resetting your shark robot vacuum by turning it off and unplugging it for a few minutes. Check for any blockages in the charging port or on the charging contacts. If the issue persists, contact shark customer support for further assistance.
What Should I Do If My Shark Robot Vacuum Doesn’T Hold A Charge?
If your shark robot vacuum doesn’t hold a charge, try cleaning the battery contacts with a soft cloth. Ensure that the battery is properly inserted and locked into place. If the problem continues, consider replacing the battery or contacting shark customer support.
Can A Faulty Charger Cause My Shark Robot Vacuum Not To Charge?
Yes, a faulty charger can prevent your shark robot vacuum from charging. Test the charger by using it with another compatible device. If the charger works fine with other devices, the issue might lie with the vacuum itself. Contact shark customer support for further troubleshooting.
How Long Does It Take To Charge A Shark Robot Vacuum?
The charging time for your shark robot vacuum can vary depending on the model. On average, it takes approximately 3 to 4 hours for a complete charge. However, refer to your specific model’s user manual for the exact charging time recommendation.
Conclusion
When your Shark Robot Vacuum isn’t charging, it’s usually due to easily fixable issues like dirty contacts, improper docking, or power source problems. Regular cleaning and maintenance can prevent many of these issues. If these steps don’t work, a reset might be necessary. Although it’s tempting to immediately consider product replacements or professional repairs, simple troubleshooting can often save time and maintain the efficiency of your Shark Robot Vacuum.