How to Use the Mop Bucket | Master Clean Floors Easily
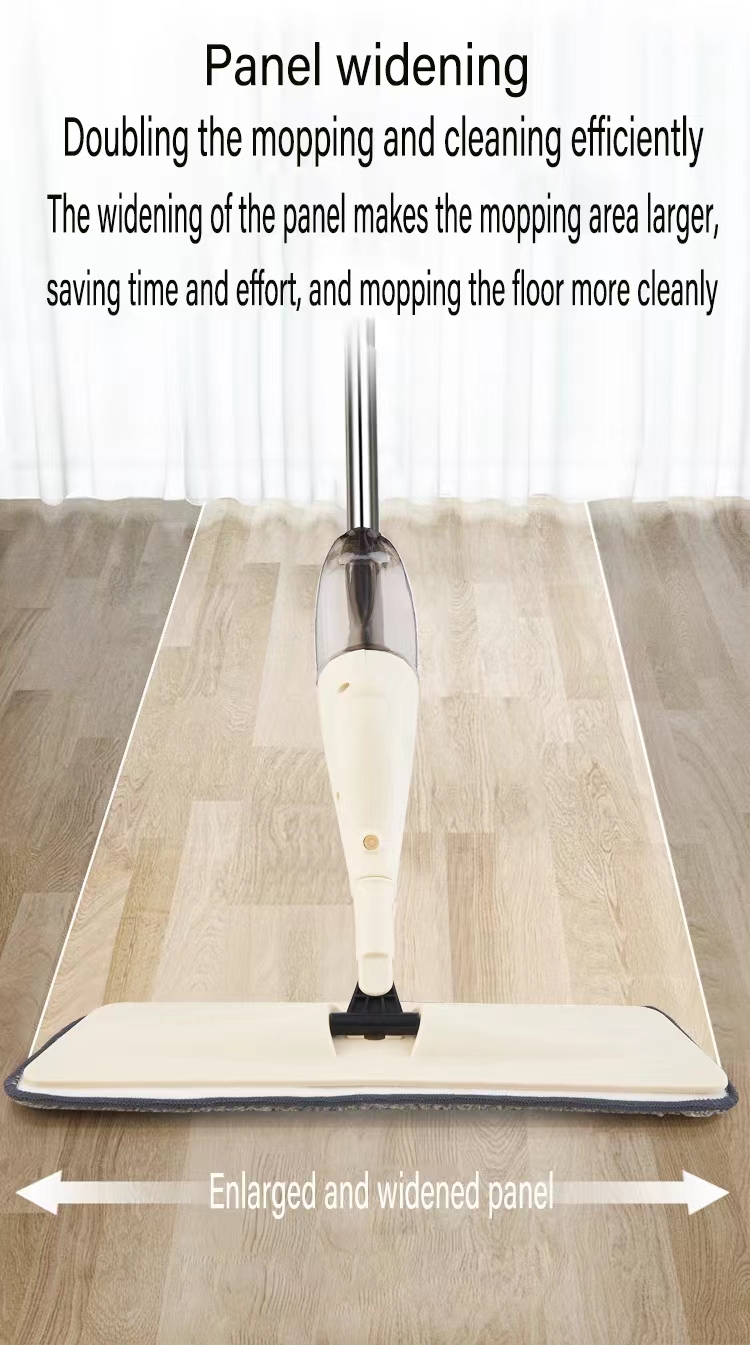
To use a mop bucket, first fill it with cleaning solution and water, then submerge and wring out the mop using the built-in wringer. Proper use of a mop bucket ensures efficient and less labor-intensive cleaning.
Mop buckets are essential tools for maintaining clean floors in both residential and commercial spaces. The typical design features a segmented basin that allows you to separate clean water from dirty water, thereby improving the cleaning process. Often paired with a wringer, which aids in squeezing excess water from the mop, these buckets contribute to more effective mopping and quicker drying times.
Understanding the straightforward operation of a mop bucket can significantly enhance your cleaning routine. As simple as it sounds, mastering the use of a mop bucket combo is a small step towards maintaining a cleaner, safer environment. Remember to always use fresh solution for optimal results and to prevent spreading dirt or bacteria across surfaces.
Choosing The Right Mop Bucket
Selecting the right mop bucket is crucial for efficient cleaning. The bucket’s capacity should match the size of your space. Large areas need buckets that can hold more water. This means less time refilling them. Small spaces might do well with a smaller option. Convenience and frequent water changes are key.
Different types of mop buckets serve various purposes. A traditional bucket might suffice for basic tasks. Enhanced versions come with wheels and wringers. This helps with mobility and controlling water usage. Some have dual compartments. Clean water is kept separate from dirty water.
| Type of Bucket | Capacity | Best For |
|---|---|---|
| Standard Bucket | Small-Medium | Basic tasks |
| Bucket with Wringers | Large | Bigger spaces |
| Dual Compartment | Medium | Easier water separation |

Credit: www.amazon.com
Preparation For Mopping
Gathering Necessary Supplies involves collecting all items needed for effective mopping. Begin by choosing a suitable mop and a high-quality mop bucket. Ensure the mop bucket has a wringer. Long handle mops are great to avoid bending. Also, include a ‘Wet Floor’ sign for safety. Durable gloves protect your hands from chemicals.
Mixing Cleaning Solutions should be done with care. Fill the mop bucket with warm water to the indicated level. Add the correct amount of cleaner, following the manufacturer’s instructions. Mix the solution gently to avoid creating too much foam. Check the temperature; it should be warm, not hot.
Step-by-step Mopping Guide
To use a mop bucket properly, start by filling it with water and cleaner. Next, dip your mop into the solution, allowing it to soak. Ensure the mop is not dripping by placing it in the wringer. Push down firmly to squeeze excess liquid out. With a damp mop, begin cleaning the floor using an ‘S’ pattern.
This technique keeps the dirt in one area. Overlap each stroke for thorough coverage and effective cleaning. Remember to rinse the mop frequently to avoid spreading dirt. Change the water if it looks dirty. This simple method helps keep floors sparkling clean.
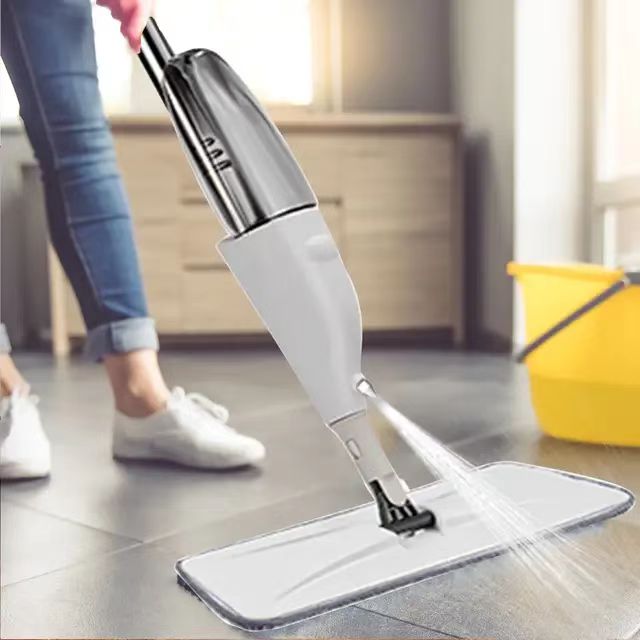
Credit: www.shengyiyang.com
Maintenance And Cleaning Of Mop Bucket
To properly maintain a mop bucket, always clean it after each use. Empty it completely, removing all water and residue. Next, use a mild detergent and warm water to cleanse its interior. Don’t forget to scrub the mop wringer thoroughly. Rinse everything with clean water and dry with a soft cloth to prevent mildew and odor build-up.
For storing your mop and bucket, find a cool, dry place. Turn the mop head upward to aid drying and avoid bacterial growth. Hang the mop or place it on a mop holder to keep its shape. Ensure the bucket is upturned to keep dust out. This simple care keeps your cleaning tools ready for their next use.
Troubleshooting Common Issues
Stubborn stains on floors can be frustrating. To tackle them, first ensure you have the right cleaning solution. Apply the cleaner directly to the stain and let it sit. Use a scrubbing brush to work on the stain. Rinse the mop in the bucket and wipe the area clean. Repeat if necessary. For extra tough stains, consider using a stronger cleaner or a different scrubbing tool.
- Prevent cross-contamination by using color-coded mop buckets.
- Change the water frequently to keep it clean.
- Use separate mops for different areas — one for the kitchen, one for bathrooms.
Advanced Tips For Professional-level Cleanliness
Embracing a double bucket system can revolutionize your cleaning strategy. This method separates dirty water from clean water, thus optimizing your mop’s effectiveness. Begin by filling one bucket with a cleaning solution and the other with plain water for rinsing. After mopping a section, rinse the mop in the plain water bucket. Wring it thoroughly before dipping it into the cleaning solution. This process ensures that grime doesn’t transfer back onto your floors.
Transitioning to microfiber mops offers advantages. These mops are designed to capture more dirt and bacteria than traditional mops. Use them slightly damp for best results and remember to change the mop head regularly. The high absorbency of microfiber means fewer streaks and a quicker drying time, leaving your floors spotless.

Credit: www.walmart.com
Conclusion
Mastering mop bucket usage ensures a cleaner, more efficient home cleaning routine. Embrace these simple steps for spotless floors without the hassle. For further tips and household hacks, keep following our blog. A sparkling home is just a mop bucket away.
