How to Use Mop With Bucket: Effortless Cleaning Tips
To use a mop with a bucket, first dip the mop into the bucket filled with cleaning solution, then wring it out. Ensure the mop is damp but not dripping wet before cleaning the floor.
A mop and bucket are indispensable tools for maintaining clean floors. Utilizing them effectively can be the difference between a spotless surface and a sticky mess. Mops are designed to absorb liquids and remove dirt, while buckets with built-in wringers offer a convenient way to squeeze out excess water without making a mess.
Maintaining the right balance of moisture is crucial; a mop too wet can leave floors slippery, while too dry it might not clean effectively. Familiarizing yourself with the correct technique to mop floors can make your cleaning routine more efficient and leave your surfaces shining. Practice and precision in handling the mop will ensure the best results for a hygienic and inviting space.

Credit: www.walmart.com
Choosing Your Mop And Bucket
Choosing the right mop and bucket is essential for effective cleaning. Mops vary by surface type. Flat mops work well on hardwood and laminate. Sponge mops are great for tile and linoleum. For deeper cleaning, string mops are preferable.
The ideal bucket should have several compartments to separate clean from dirty water. This will ensure a spotless finish every time. Look for a bucket with built-in wringers for easy water removal. Some buckets offer wheels and handles for better mobility.
| Type of Mop | Surface Compatibility |
|---|---|
| Flat Mop | Hardwood, Laminate |
| Sponge Mop | Tile, Linoleum |
| String Mop | All Floors (Deep Cleaning) |
- Divided bucket – Keeps cleaning solution separate from waste water.
- Built-in wringer – Allows for easy mop drying.
- Wheels and handles – Makes moving the bucket less of a hassle.
Initial Setup For Mopping
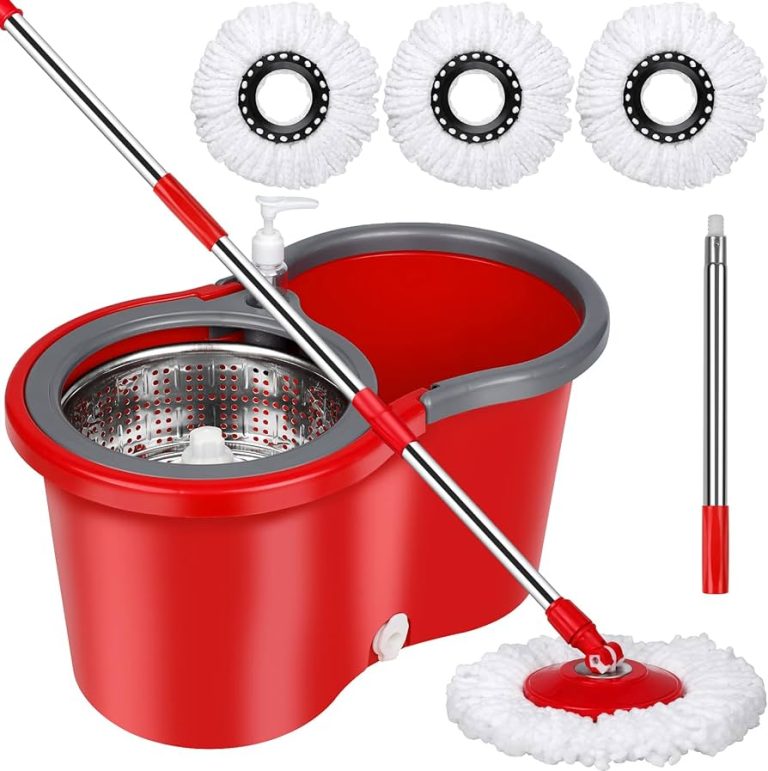
Assembling your mop requires matching the mop head to the handle. Twist the handle onto the mop head until it’s snug. Make sure the mop head is secure to avoid any loose movement. This step ensures effective cleaning.
Preparing the cleaning solution starts with filling the bucket. Mix warm water with your preferred cleaning agent. Dilute the solution according to the product directions. This will create a soapy mixture ideal for mopping. Dip the mop into the solution, wring it out, and you are ready to go.
Mopping Techniques
Proper mopping technique is essential for effective cleaning. Dip your mop into the bucket. Then, gently wring out the excess water before starting. Ensure your mop is damp, not soaking wet.
Use a figure-eight motion to cover the floor. This pattern helps to trap dirt efficiently. Work from one corner of the room towards the door. This way, you don’t step on the wet floor. Always rinse the mop after completing a section.
To manage excess water, wring out your mop thoroughly over the bucket. Do this each time it gets too wet. A mop too wet can leave floors dangerously slippery and cause water damage. Adjust pressure as necessary. Light pressure for dusty surfaces, firmer for sticky or dirty spots.
Maintaining The Mop And Bucket
To ensure long-lasting mop and bucket, clean them regularly. After each use, rinse the mop in clean water. Squeeze out excess liquid. The mop should air dry to prevent mildew. The bucket needs a thorough rinse and wipe-down to remove dirt. Let it air dry too.
For smart storage, keep your mop and bucket in a cool, dry place. Avoid direct sunlight as it can degrade plastic and fibers. Hang the mop head up. This stops it from touching the ground. Proper storage will keep your cleaning tools ready and effective.
Troubleshooting Common Mopping Issues
Streaky floors often result from improper mopping techniques. To prevent streaks, ensure the mop is not too wet. Wring it out well before use. Dirty water can also cause streaks. Change the bucket water frequently to avoid this. Drying the floor with a clean, dry mop or cloth after washing can reduce streaks.
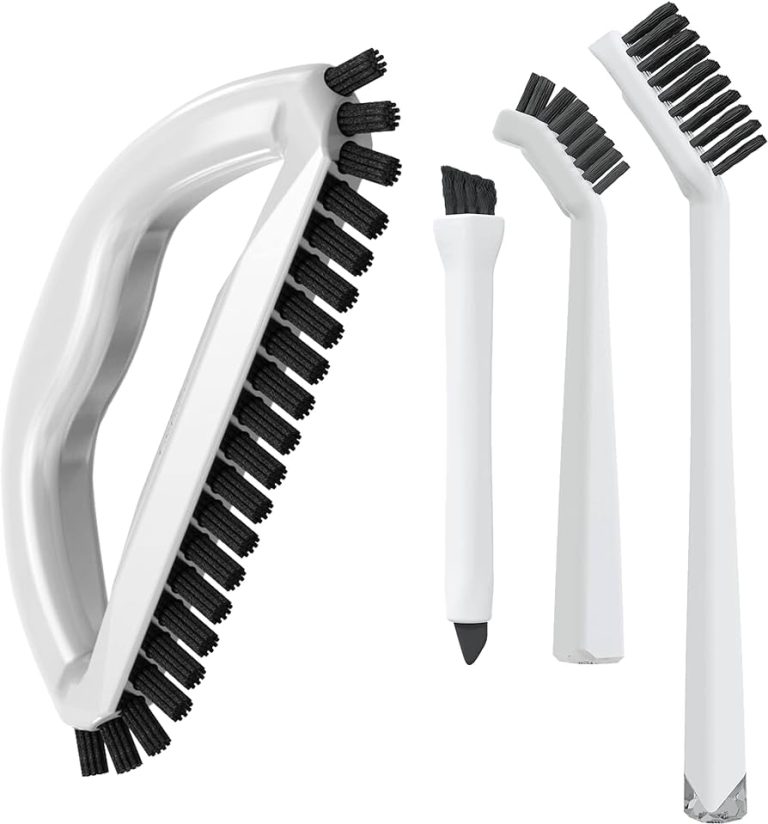
Stubborn stains may require a bit more attention. Consider applying a cleaning solution directly to the stain. Let it sit for a few minutes. Then, scrub the area gently with a mop or brush. Rinse thoroughly with clean water to remove any residue.

Credit: www.amazon.com
Eco-friendly Mopping
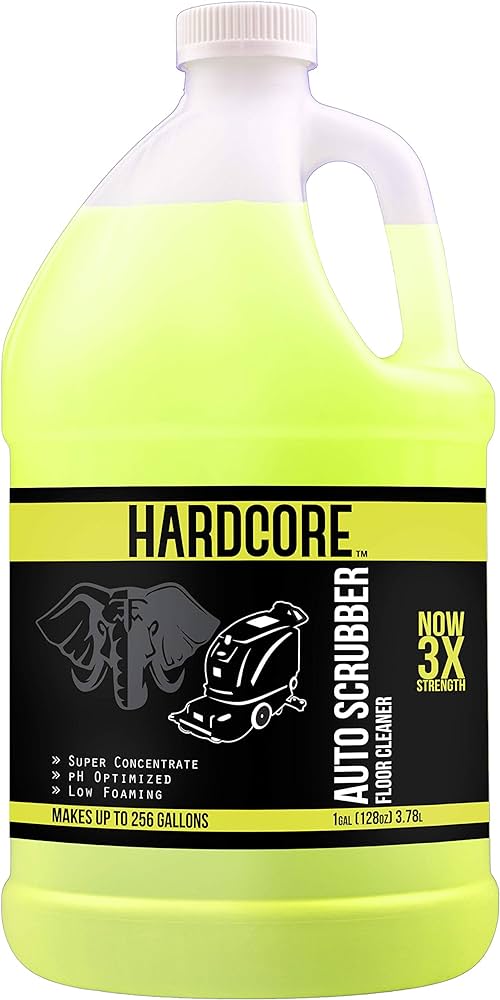
Eco-friendly mopping starts with green cleaning products. Choose biodegradable detergents that are safe for the environment. These cleaners help preserve our planet’s health.
Water conservation is also key in eco-friendly cleaning. Use only the water you need. A bucket with a built-in wringer maximizes efficiency, reducing water waste. Reuse mop water when possible, but not on different surfaces to avoid cross-contamination. This practice saves water and is gentle on ecosystems.

Credit: www.amazon.com
Conclusion
Mastering the art of using a mop and bucket efficiently can transform your cleaning routine. Follow the steps outlined and you’ll enjoy cleaner floors with less effort. Embrace the simplicity of this classic duo, and mop your way to a spotless home.