How to Setup Robot Vacuum | Mastering the Setup
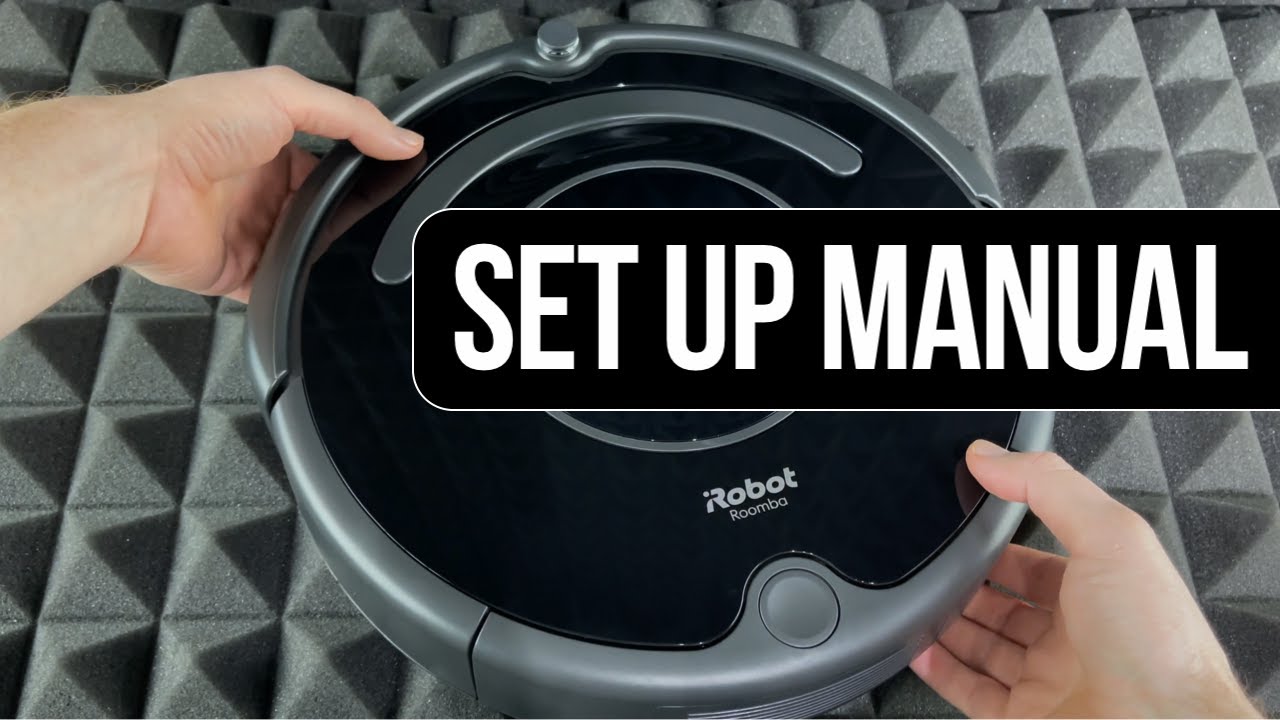
To setup a robot vacuum, first, ensure the charging dock is plugged in and positioned against a wall. Next, place the robot vacuum on the dock to charge the battery.
Robot vacuums have quickly gained popularity as a convenient and time-saving tool for maintaining a clean home. These automated cleaners can navigate multiple floor surfaces, easily reaching under furniture and avoiding obstacles. Setting up a robot vacuum is a simple process that involves positioning the charging dock against a wall and placing the robot vacuum on it for charging.
Once charged, the vacuum can be programmed to clean specific areas or operate on a schedule. By following a few easy steps, you can have your robot vacuum ready to efficiently clean your floors in no time.
Before Setting Up
To set up a robot vacuum, there are a few important steps to follow. First, before starting the setup process, ensure that your robot vacuum is compatible with your home’s layout and flooring. This will help prevent any issues later on.
Next, clear the area of any potential obstacles that could hinder the robot vacuum’s movement. Make sure to remove any loose wires, rugs, or furniture that could block its path. Lastly, ensure that the robot vacuum is fully charged before using it for the first time.
This will ensure that it has enough power to complete its cleaning tasks efficiently. By following these guidelines, you can set up your robot vacuum successfully and enjoy its automated cleaning abilities.
Setting Up The Robot Vacuum
Setting up a robot vacuum is a simple process that can be done in a few easy steps. First, determine the cleaning schedule that works best for you. Next, connect the charging dock so that the vacuum can recharge when needed.
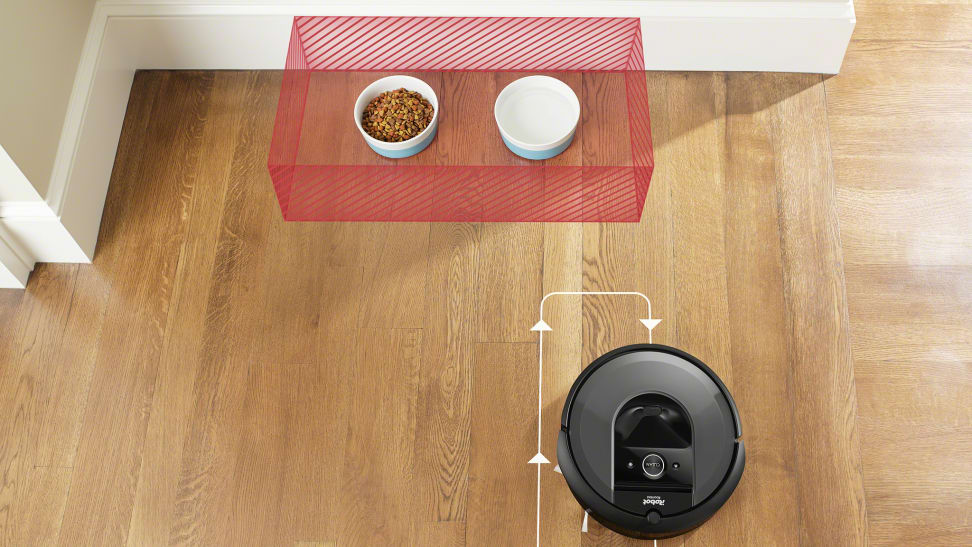
If you have areas you want the vacuum to avoid, set up virtual walls. Adjust the brush and roller settings to optimize cleaning performance. Connect the robot vacuum to your home Wi-Fi network for remote control capabilities. Download and install the companion app to take full advantage of the vacuum’s features.
Configure the app settings according to your preferences. Finally, test the robot vacuum to ensure it is working properly. Following these steps will help you set up your robot vacuum quickly and efficiently.
Tips For Optimizing Performance
Setting up a robot vacuum involves optimizing its performance through regular maintenance and cleaning. To ensure efficient navigation, keep the floor clear and utilize boundary markers for designated areas. Additionally, customize cleaning modes and schedules to meet your specific needs.
Monitoring and analyzing the cleaning patterns can further enhance its effectiveness. Regular maintenance and cleaning are crucial for the robot vacuum to operate at its best. By following these tips, you can maximize the performance of your robot vacuum and enjoy a clean and tidy home with minimal effort.
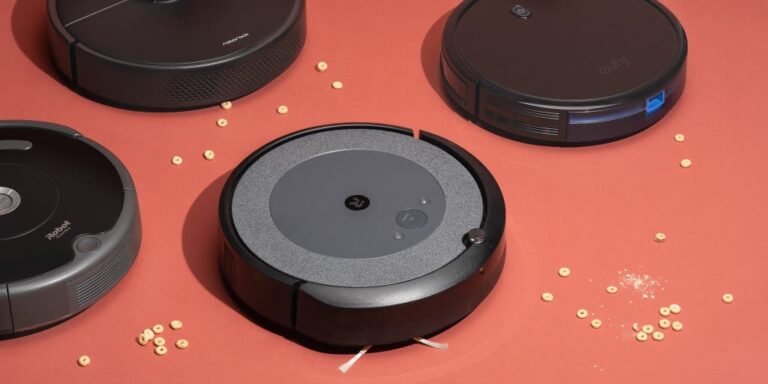
Credit: reviewed.usatoday.com
Troubleshooting Common Issues
Robot vacuum owners often encounter common issues like getting stuck on obstacles while cleaning or facing poor suction power. Another problem is experiencing connection issues with the companion app, which can hinder the device’s functionality. Battery or charging problems are yet another challenge that users may face, affecting the vacuum’s performance.
Users may come across error codes displayed on the vacuum and wonder how to resolve them efficiently. Understanding how to troubleshoot these common problems is crucial for maximizing the robot vacuum’s effectiveness and ensuring a seamless cleaning experience. By following the appropriate steps to address these issues, users can ensure that their robot vacuum operates smoothly and efficiently without any hindrances.
Frequently Asked Questions For How To Setup Robot Vacuum
How Do You Set Up A Robot Vacuum Cleaner?
To set up a robot vacuum cleaner, follow these steps:
1. Charge the robot: Place the vacuum on the charging dock until it’s fully charged.
2. Clear the floor: Remove any obstacles and pick up small items like toys or cables to prevent the vacuum from getting stuck.
3. Set boundaries: Use boundary strips or virtual walls to prevent the robot from entering restricted areas.
4. Program the schedule: Set a cleaning schedule through the robot’s control panel or smartphone app to specify when and how often it should clean.
5. Start cleaning: Press the “start” button or schedule the robot to begin cleaning. It will navigate your home, vacuuming as it goes.
6. Empty the dustbin: Regularly check and empty the robot’s dustbin to maintain optimal performance.
7. Maintain and clean: Follow the manufacturer’s instructions for cleaning and maintaining the robot vacuum to ensure its longevity.
Do Robot Vacuums Have To Be Programmed?
Yes, robot vacuums need to be programmed. They can’t clean without instructions.
Are Robot Vacuums Easy To Set Up?
Setting up robot vacuums is a breeze. With easy instructions, you can have your vacuum ready in minutes. Simply unbox it, charge the battery, and connect it to your Wi-Fi network. Then, download the accompanying app, follow a few simple steps, and your robot vacuum is good to go.
Just select your cleaning preferences and schedule, and let the robot do the work. You can even integrate it with voice assistants like Alexa or Google Home for convenient control. No need to worry about complicated installation or long setups.
Robot vacuums are designed to be user-friendly, making it easy for anyone to set them up without any hassle. So say goodbye to tangled cords and heavy vacuums and hello to a clean and hassle-free home with a robot vacuum.
Conclusion
setting up your robot vacuum is a hassle-free and cleaner home game-changer. By following the step-by-step instructions in this guide, you’ll have your robot vacuum ready to tackle dirt and dust with minimal effort. Embrace the convenience of automated cleaning, bid farewell to manual vacuuming, and enjoy a spotless living space. With the right setup, your robot vacuum becomes a valuable cleaning companion that simplifies your daily routine.

