How to Set Up a Mop Bucket | Simplify Your Cleaning!

To set up a mop bucket, assemble the bucket, insert the wringer, and fill it with cleaning solution and water. Ensure the bucket is on a stable surface before use.
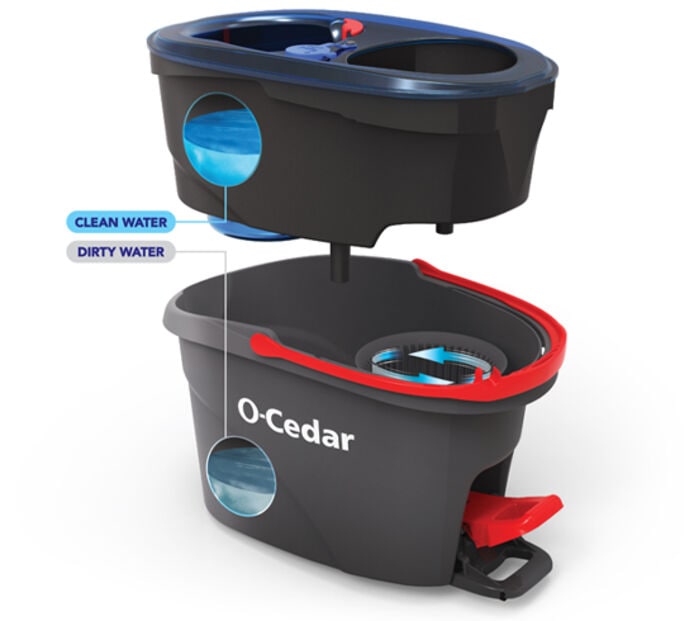
Efficient cleaning starts with the proper setup of your mop bucket. This simple task, often overlooked, can impact the ease and effectiveness of your cleaning routine. A mop bucket typically consists of two compartments — one for the fresh cleaning solution and another for wringing out the dirty mop.
Assembling the bucket correctly is crucial for maintaining the cleanliness of your floors and ensuring that the dirty water does not mix with the clean solution. A well-prepared mop bucket not only streamlines your cleaning efforts but also conserves water and cleaning agents, supporting eco-friendly practices. Follow these straightforward steps to get started on a floor cleaning session that minimizes effort and maximizes hygiene.
Essential Items For Mop Bucket Setup
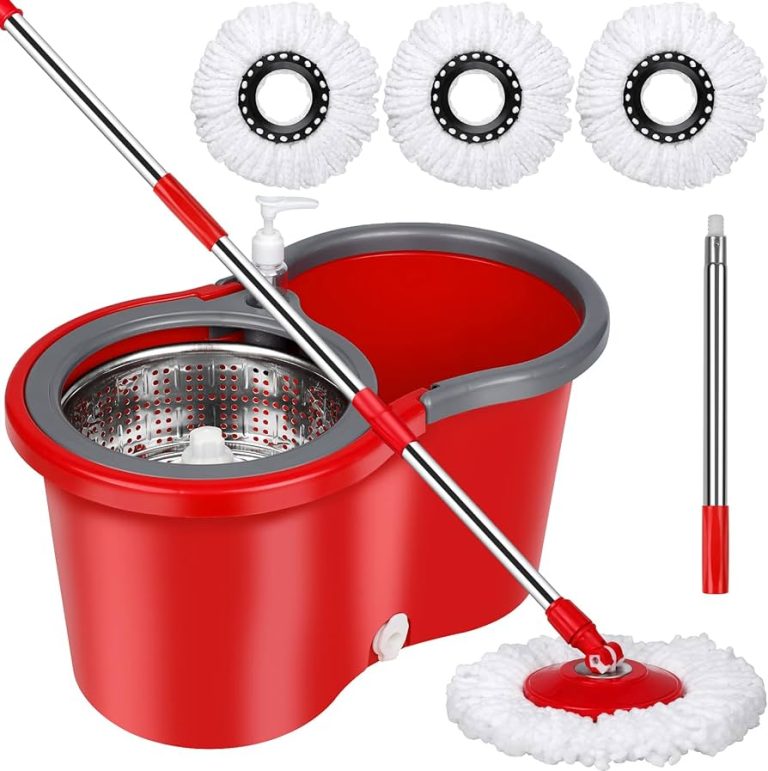
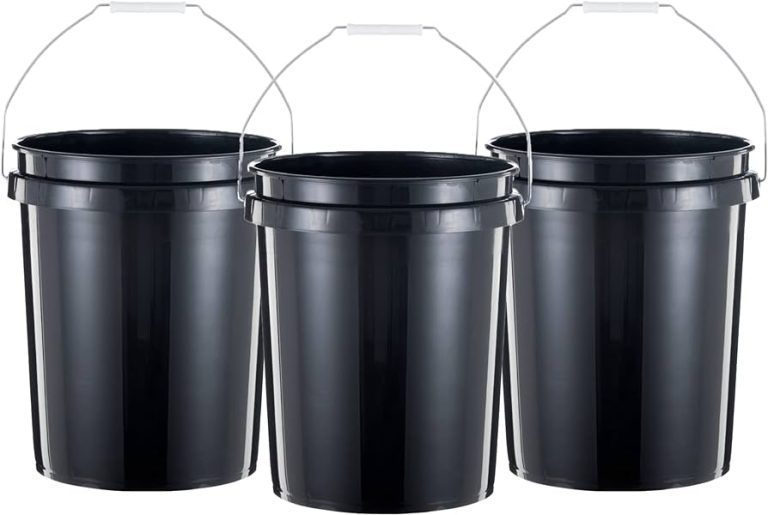
Setting up the perfect mop bucket requires careful selection of materials. Choose a durable bucket paired with a sturdy mop. The bucket should have a wringer attachment to squeeze excess water from the mop. It is crucial to ensure the mop is compatible with the bucket for efficient cleaning.
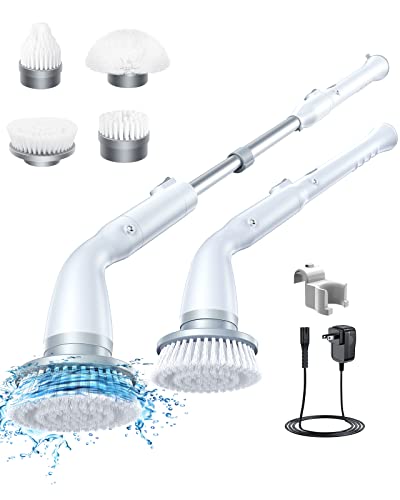
For an effective cleaning routine, include additional tools and cleaners in your setup. Essential items like floor cleaner, scrub brushes, and microfiber cloths make the task easier. The right disinfectant for your floor type will kill germs and leave a fresh scent.
Steps To Assemble Your Mop Bucket
Begin by opening your mop bucket package. Check all parts are present before assembly.
Find the wringer component and securely attach it to the mop bucket’s rim. Ensure a tight fit to avoid spills.
To prepare for use, fill the mop bucket with water up to the indicated level. Add the cleaning solution as per instructions, ensuring the right mixture for effective cleaning.
Optimizing The Water-to-cleaner Ratio
To set up your mop bucket correctly, striking the right water-to-cleaner balance is essential. Start by reading the cleaning solution’s label. It will tell you the correct concentration. Use a measuring cup for accuracy. This ensures the mixture is neither too weak nor too strong.
Begin by pouring the cleaner into the bucket first. Then add water. This method prevents splashing of the concentrated cleaner. It also helps in evenly distributing the cleaning agent throughout the water. Consistent mixing results in a more effective cleaning solution. Remember, precision is key to optimize cleaning and maintain safety.

Credit: www.walmart.com
Safety Precautions During Use
Setting up a mop bucket requires attention to avoid messes. Keep the bucket on level ground to prevent tipping over. Fill slowly, watching to avoid overfilling which leads to unnecessary spills. For effective spill-prevention, use a bucket with a pouring spout.
Handling chemicals must be done with care. Always wear gloves and, if necessary, protective eyewear. Read the chemical’s label before use and follow the safety instructions closely. Do not mix chemicals unless directed, as this can cause dangerous reactions. Finally, ensure proper ventilation in the area to avoid inhaling fumes.
Maintenance Of Your Mop Bucket
Maintaining a mop bucket ensures its longevity and effectiveness. Regularly rinsing the bucket with hot water after use removes dirty residue. For a deep clean, fill with a mixture of hot water and mild detergent. Let this soak for a few minutes, then scrub with a brush and rinse thoroughly. Ensure to air-dry the bucket completely to prevent mildew.
Proper storage is crucial in prolonging the life of your mop and bucket. Always store the mop upright in a cool, dry place. Hang the mop head to avoid contact with the floor and prevent contamination. Keep the bucket in an easily accessible place for quick use. By storing tools correctly, you avoid unwanted odors and bacteria growth.
Credit: www.homedepot.com
Troubleshooting Common Issues
Dealing with leaks in your mop bucket can be frustrating. First, inspect the bucket for any visible cracks or holes. Sometimes, a simple patch kit can fix small leaks. Ensure the bucket is dry before applying the patch. Check the seals around the bucket, as these are often culprits. Replace worn-out seals to prevent water from escaping.
Resolving wringer mechanism problems begins with a thorough inspection. Make sure all moving parts are clean and free of debris. Dirt and grime can cause the wringer to stick or malfunction. Lubricate moving parts with a silicone spray to keep them operating smoothly. If the wringer handle is hard to move, check for any obstructions. Parts that are broken or worn out may need a replacement.

Credit: www.katom.com
Conclusion
Setting up a mop bucket is straightforward with the right steps. Your cleaning routine just got easier and more efficient. Remember to choose the appropriate mop and cleaner for optimal results. For sparkling floors, revisit our guide as needed. Embrace a cleaner space today!