How to Repair Vileda Mop Bucket | Quick DIY Fixes!

To repair a Vileda mop bucket, first identify the issue, such as a broken wringer or leaking bucket. Obtain replacement parts from Vileda or a hardware store and follow the product’s assembly instructions for installation.
Maintaining a clean and functional home often relies on sturdy and efficient cleaning tools, like the Vileda mop bucket. Known for their convenience and durability, Vileda mop buckets sometimes need repairs, which can extend their usefulness and save money. Addressing a malfunctioning mop bucket quickly ensures that your cleaning routine remains uninterrupted and effective.
The repair process generally entails diagnosing the problem, purchasing the correct parts, and performing a straightforward fix that typically requires minimal tools. By doing so, homeowners ensure their Vileda mop bucket remains a dependable ally in household maintenance, championing cleanliness with every use.
Credit: m.youtube.com
Initial Assessment Of Mop Bucket Damage
Before repairing a Vileda mop bucket, assess the damage. Spot problems such as cracks, leaks, or a broken wringer. This will guide the fix. Gather the right tools and supplies for the job. Items needed might include:
- Waterproof sealant for leaks
- Epoxy glue for cracks
- Screwdriver sets for loose parts
- Replacement parts specific to Vileda mop buckets
Ensure you have a clean workspace. Good lighting helps you see small issues. Have patience and follow steps precisely to avoid further damages to your mop bucket. Ready all items beforehand for a smooth repair process.

Credit: www.amazon.com
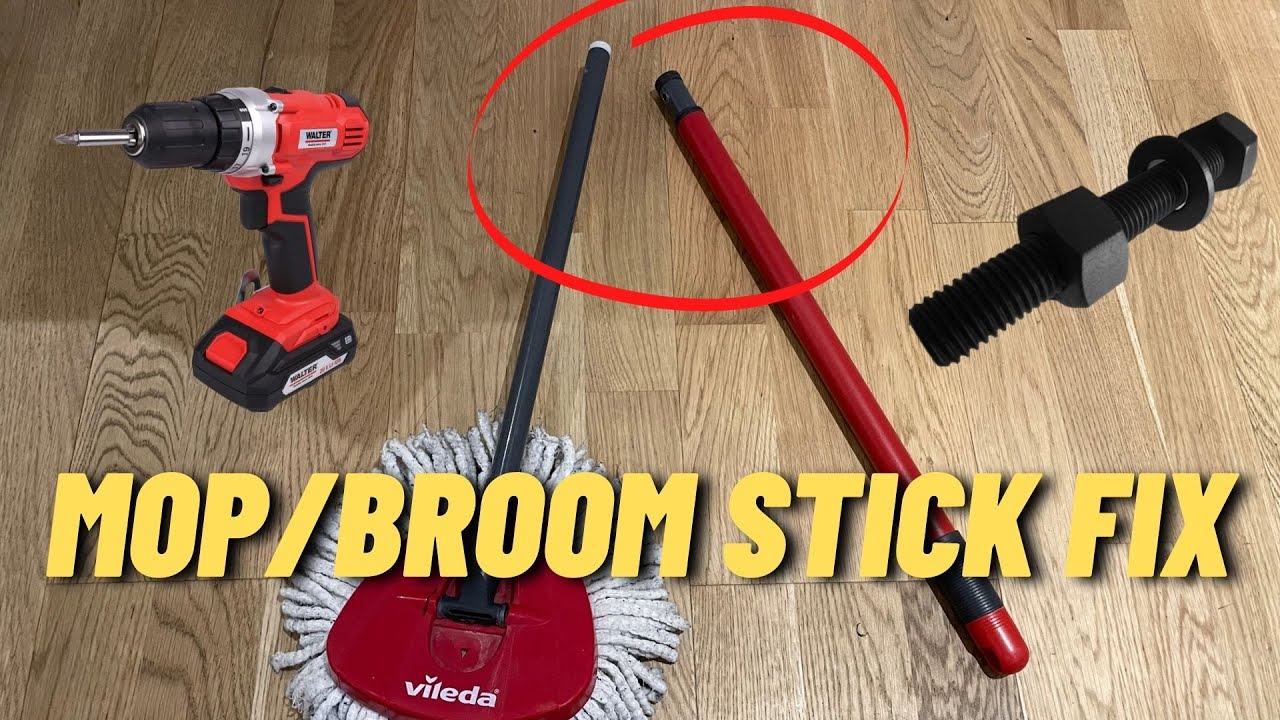
Fixing A Broken Mop Bucket Handle
Repairing your Vileda mop bucket begins with the handle removal. Ensure your bucket is empty. Next, locate the pins or clips that hold the handle in place. Carefully push or pull these pins out. Take your time to avoid snapping the pins. Gently wiggle the handle to free it from the bucket.
Once the damaged handle is out, installing a new handle is straightforward. Start by lining up the new handle with the bucket’s slots. Insert the handle firmly until it is secure. Replace the pins or clips to lock the handle into position. Give it a strong tug to ensure it holds fast and your mop bucket is ready once more.
Mop Wringer Repairs
Fixing a jammed wringer can be simple. First, ensure the mop bucket is empty. Gently clean any visible debris or threads that might be causing the blockage. Sometimes threads from the mop head can get caught in the wringer’s gears.
Look for obvious signs of damage such as bent components which may be impeding the operation. Use a soft brush to remove dirt and grime that have accumulated around the moving parts. Lubrication may help get the parts moving smoothly again, but be sure to use a lubricant suitable for plastic parts. Water-based lubricants are often a good choice.
Replacing wringer springs requires attention. Begin by removing the faulty spring carefully, noting how it was installed. Buying the correct replacement is crucial for mop bucket functionality. Place the new spring in the same position as the old one, making sure it’s secure. Reassemble any other parts that were removed during the process. Test the wringer to ensure it works without issue.
Dealing With Leaks And Cracks
Detecting leak points requires a close examination of the mop bucket. Fill the bucket with water and look for drips. Mark areas where water seeps out to identify the cracks accurately. Sealing cracks in a mop bucket can be straightforward with the right materials. Use a waterproof adhesive designed for plastic. Apply it over the crack both inside and outside the bucket. Let it dry completely before testing the bucket again.
Maintaining And Preventing Future Issues
Keeping your Vileda mop bucket in top shape requires some easy steps. Clean it regularly to prevent dirt build-up. Use a soft cloth with mild detergent for cleaning. After washing, dry the bucket completely before storing it.
Store your mop bucket in a cool, dry place. Avoid exposure to direct sunlight which can weaken the plastic. Before long-term storage, make sure the bucket is completely dry to prevent mold and foul odors. By following these simple tips, your mop bucket will be ready for its next use.

Credit: m.youtube.com
Conclusion
With these steps, repairing your Vileda mop bucket is hassle-free. Our guide simplifies the task, ensuring your mop and bucket are back in action swiftly. Remember, regular maintenance can extend your cleaning equipment’s life. For additional tips and household DIY advice, keep visiting our blog.