The Ultimate Guide to Robot Vacuum Maintenance and Repair
To repair a robot vacuum, first, identify the problem and refer to the user manual for troubleshooting steps. If the issue persists, contact the manufacturer or a professional repair service for assistance.
Robot vacuums are advanced devices that can encounter various problems, such as clogged brushes, sensor issues, or motor malfunctions. It is essential to follow the proper repair procedures to ensure the vacuum’s optimal performance and longevity. Understanding the right techniques for repairing a robot vacuum can save time and money, ultimately prolonging the lifespan of the device.
Robot Vacuum Not Starting Up
Having trouble getting your robot vacuum to start up? One common issue could be a battery failure. Check if the battery is properly connected and charged. Another possibility is power connection issues – ensure the vacuum is plugged in correctly.
If neither of these fixes the problem, try resetting the vacuum. Look for a reset button or refer to the user manual for instructions. By troubleshooting these simple steps, you can get your robot vacuum back up and running efficiently without the need for professional assistance.
Robot Vacuum Not Collecting Debris
Robot vacuum not collecting debris? It could be due to clogged brushes or filters. Sometimes, the suction system malfunctions. To fix this issue, start by cleaning the brushes and filters thoroughly. Remove any tangled hair or debris that may be blocking them.
Check if the brushes are spinning freely and the filters are clean. Regularly maintaining the brushes and filters will ensure optimal performance of your robot vacuum. Clean them after every use or as recommended by the manufacturer. By following these simple steps, you can easily repair your robot vacuum and ensure it collects debris efficiently.
With regular maintenance, your robot vacuum will continue to keep your floors clean and dust-free.
Robot Vacuum Getting Stuck
When the robot vacuum gets stuck during cleaning, it can be frustrating. One common issue is obstacles in the cleaning path, such as tangled cords or carpet fringes. These can cause the vacuum to halt its movement and require intervention.
Another factor to consider is adjusting the boundary settings. If the vacuum is getting stuck near furniture or walls, tweaking the boundary settings can help prevent this issue. By making these adjustments, you can ensure that your robot vacuum operates smoothly and efficiently, without getting stuck.
Regularly checking for tangled cords and carpet fringes, as well as fine-tuning the boundary settings, will help keep your robot vacuum in good working condition and ensure thorough cleaning throughout your home.
Repairing Roomba
Robot vacuums have become an essential part of many households, but what happens when they break down? Repairing a Roomba can be simpler than you think. One common issue is diagnosing error codes, which can help pinpoint the problem. If you’re experiencing issues, consider replacing worn-out parts to restore your Roomba back to its optimal performance.
Make sure to sync your Roomba with the smartphone app to ensure proper functionality. By following these steps, you can get your robot vacuum up and running again in no time. So, don’t let a malfunctioning Roomba slow you down – take charge and get it back to work.
Fixing Neato Botvac
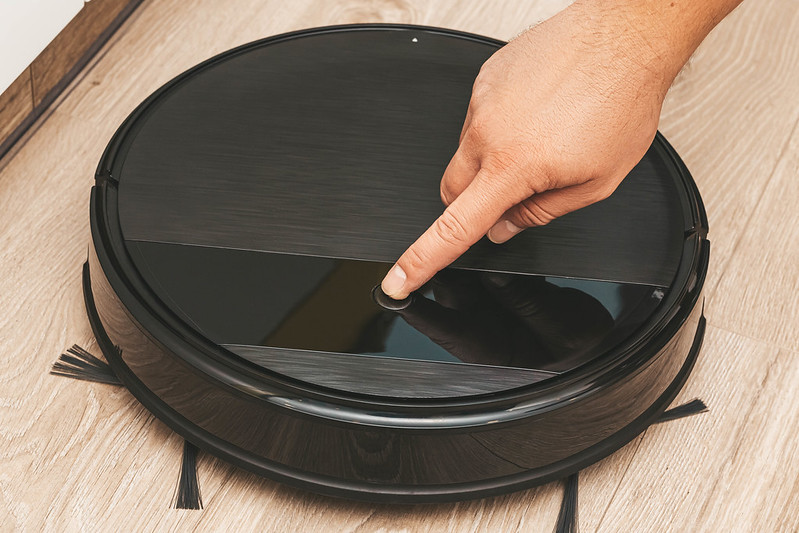
To repair your Neato Botvac, start by cleaning the LIDAR sensor. Use a soft cloth to remove any dust or debris that may be obstructing its function. If you’re still experiencing navigation issues, try troubleshooting by resetting the robot vacuum.
Press and hold the start button for 10 seconds until the robot turns off, then turn it back on again. If problems persist, consider calibrating the Botvac for optimal performance. Consult the user manual for specific instructions on how to do this.
Credit: www.mrright.in
Repairing Eufy Robovac
Are you facing issues with your Eufy RoboVac? Don’t worry, we’ve got you covered! To start repairing your RoboVac, the first step is to reset it. Simply locate the reset button on the device and press it for a few seconds.
This will help resolve any performance issues you might be experiencing. Next, it’s important to clean the drop sensors regularly. These sensors can sometimes get blocked by dirt or debris, affecting the unit’s navigation. Use a soft cloth or cotton swab to gently clean them.
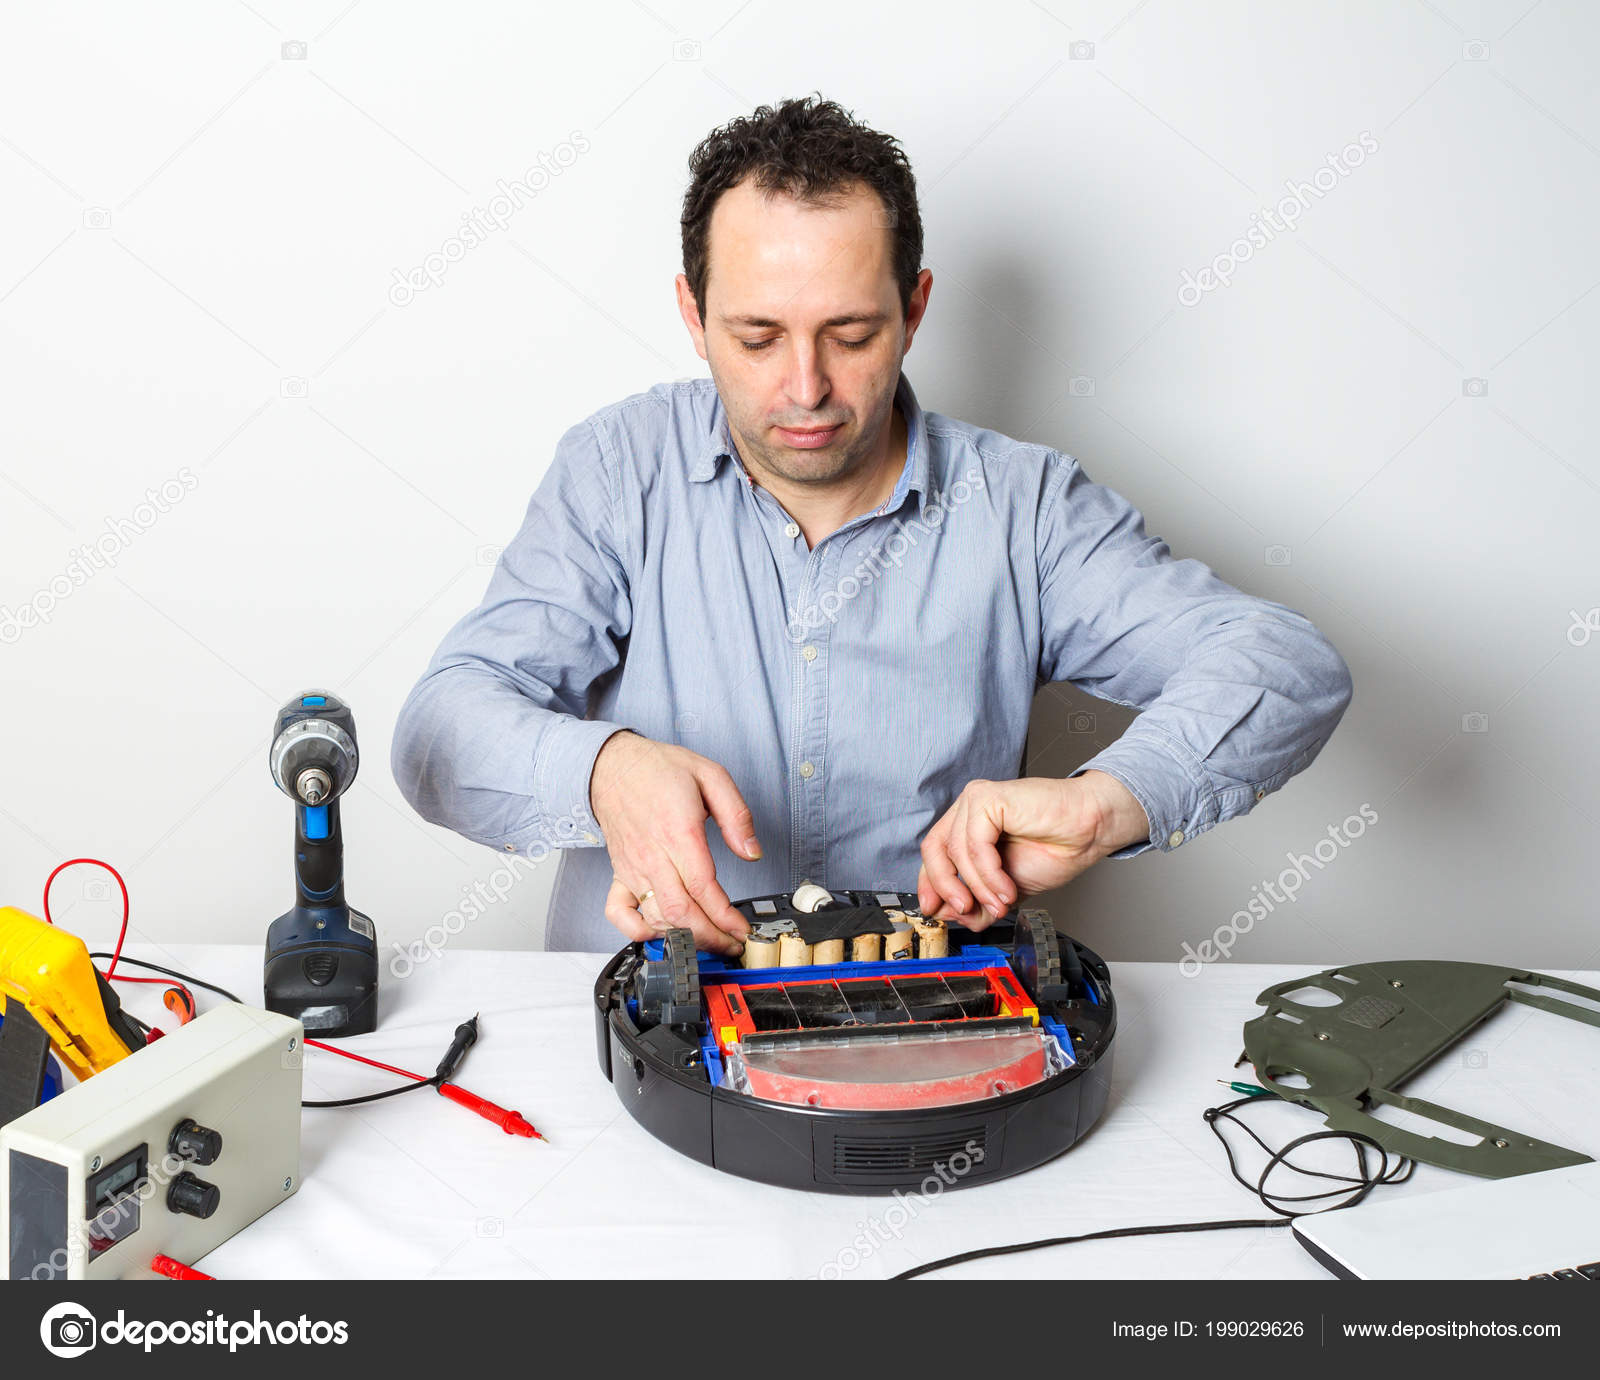
If your RoboVac is not holding a charge or performance is poor, it might be time to replace the battery pack. Contact your manufacturer or retailer to purchase a new battery pack that is compatible with your model. By following these simple steps, you can have your Eufy RoboVac back up and running smoothly in no time.
Proper Maintenance And Cleaning
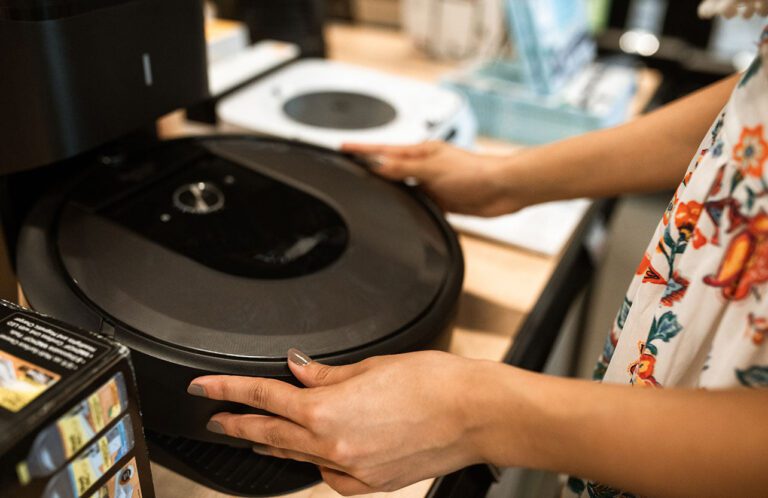
Proper maintenance and cleaning are essential for repairing a robot vacuum. Regularly emptying the dustbin ensures efficient operation. Cleaning brushes and filters helps to prevent clogging and maintain suction power. Additionally, clearing debris from the wheels and sensors ensures smooth movement and accurate navigation.
By following these maintenance steps, you can prolong the lifespan of your robot vacuum and ensure it continues to clean effectively. Keeping the dustbin empty, brushes and filters clean, and wheels and sensors debris-free will optimize the performance of your robot vacuum.
Remember to prioritize regular maintenance to avoid any major repairs or malfunctions. The key is to be consistent and proactive in keeping your robot vacuum in good working condition.
Maximizing Battery Life
To maximize the battery life of your robot vacuum, it is important to ensure proper charging cycles. Avoid overcharging or discharging the battery, as this can lead to decreased performance and a shorter overall lifespan. Be mindful of how long you leave your vacuum charging and try to unplug it once it reaches full battery capacity.
If you notice that the battery is no longer holding a charge or is losing power quickly, it may be necessary to replace it. By following these simple steps, you can keep your robot vacuum running smoothly and efficiently for longer periods of time.
Preventing Damage And Wear
When it comes to preventing damage and wear on your robot vacuum, there are a few key steps you can take. Using virtual walls and magnetic strips can help create boundaries and protect the vacuum from excessive moisture. Avoiding high-pile carpets or rugs is also important as they can cause wear and tear on the vacuum’s brushes and motors.
By setting up the virtual walls or using magnetic strips to designate off-limit areas, you can ensure that your vacuum stays safe and avoids potential damage. Additionally, regularly checking and cleaning the brushes and filters can help extend the life of your robot vacuum.
Taking these precautions will help you keep your vacuum in optimal condition and avoid costly repairs or replacements.
Frequently Asked Questions For How To Repair Robot Vacuum
Can Robot Vacuums Be Fixed?
Yes, robot vacuums can be fixed. They are designed with repairability in mind. Most common issues can be resolved by following the manufacturer’s troubleshooting guide. If the problem persists, you can contact customer support for assistance. Some manufacturers may offer repair services or have authorized repair centers where you can take your robot vacuum for fixing.
They can diagnose the problem and replace any faulty parts if necessary. It is important to note that robot vacuums, like any other technology, can have limitations, and some damages may be irreparable. To prevent potential issues, regular maintenance such as cleaning the filters and brushes is recommended.
Properly caring for your robot vacuum can help prolong its lifespan and ensure it continues to effectively clean your home.
Why Is My Vacuum Robot Not Working?
Your vacuum robot may not be working due to a few common issues. Firstly, check if it’s properly charged and its battery isn’t depleted. Ensure that the power switch is turned on and that there are no loose connections or damaged cords.
Clear any debris or obstructions that may hinder the robot’s movement or suction. If the robot still isn’t working, try resetting it or updating its software. Refer to the user manual for specific instructions. Lastly, if none of these solutions work, you may need to contact customer support for further assistance.
Be sure to provide them with relevant information about the problem and any error messages displayed.
What Is The Life Expectancy Of A Robot Vacuum Cleaner?
The life expectancy of a robot vacuum cleaner typically ranges from 3 to 5 years. Regular maintenance and proper usage can extend its lifespan.
Conclusion
Mastering the art of robot vacuum repair can save you time and money, ensuring that your trusty cleaning companion continues to serve you efficiently. By following the steps outlined in this guide and staying vigilant with regular maintenance, you can extend the lifespan of your robot vacuum and keep it in top-notch condition. Feel free to tackle common issues and perform DIY fixes when necessary. You can enjoy a cleaner home without breaking the bank with the right knowledge and effort.