How to remove the roller from shark wandvac | Four Easy Steps
Removing the roller is one of the crucial parts when you are cleaning your Shark Wandvac vacuum. The bristle attached to the roller help to pull out the maximum dirt and debris using a car vacuum with the best suction. The performance and lifespan of Shark Wandvac will reduce if the roller is not properly cleaned. Do you know how to remove the roller from shark wandvac?
It is as simple as you can’t think to remove a Wandvac vacuum cleaner. In this guide, we will cover this topic. Everything we are sharing from our extensive research and experience. So, why later? Let’s start.
Four simple steps to remove the roller from shark wandvac
Step 1: Unplug the Shark Wandvac from the power outlet
It is not a core part, but very important to ensure your safety. Many users remove the roller from the vacuum in only switch-off conditions. But the best practice is completely unplugging the vacuum. Otherwise, you may be electrocuted while removing the roller. Besides, the Shark Wandvac may also damage if you use it in a plugged-in condition.
Step 2: Roller Brush Accessing
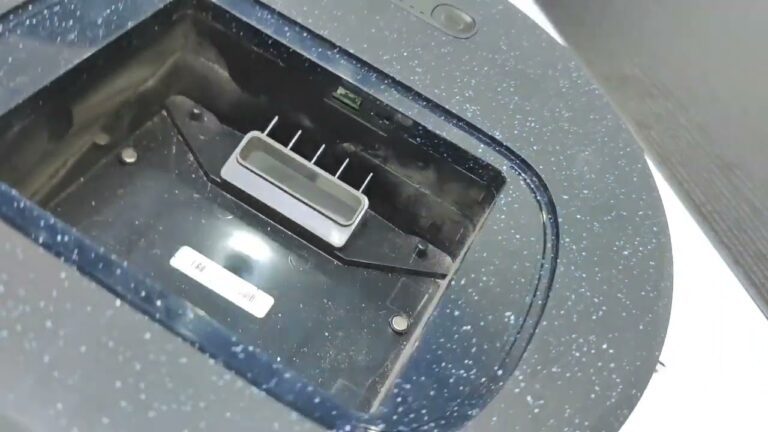
The position of the Shark Wandvac roller is near the underside of the vacuum. So, keep the vacuum cleaner on a flat surface to access it easily. Besides, this underside-down position will help you to open the screws.
Therefore, open the screws and turn the vacuum as per your requirement. This position is also good for seeing if there is a problem with the screws of the vacuum cleaner.
Step 3: Unscrew the Screws
Use the right-head screwdriver to unscrew the screws. Luckily, you will get a convenient screwdriver package with your Shark Wandvac. If you have not received a screwdriver, purchase a right-head screwdriver from the nearest shop.
Do note that Shark Wandvac comes with a few screws on individual faceplates. But most of the time, there might have four more screws. Use a container to keep the opened screws on that. Now open all screws and keep those in the container to prevent losing. Remember not to apply the screwdriver in the wrong way. The wrong screwdriver can damage the screws and make the vacuum useless.
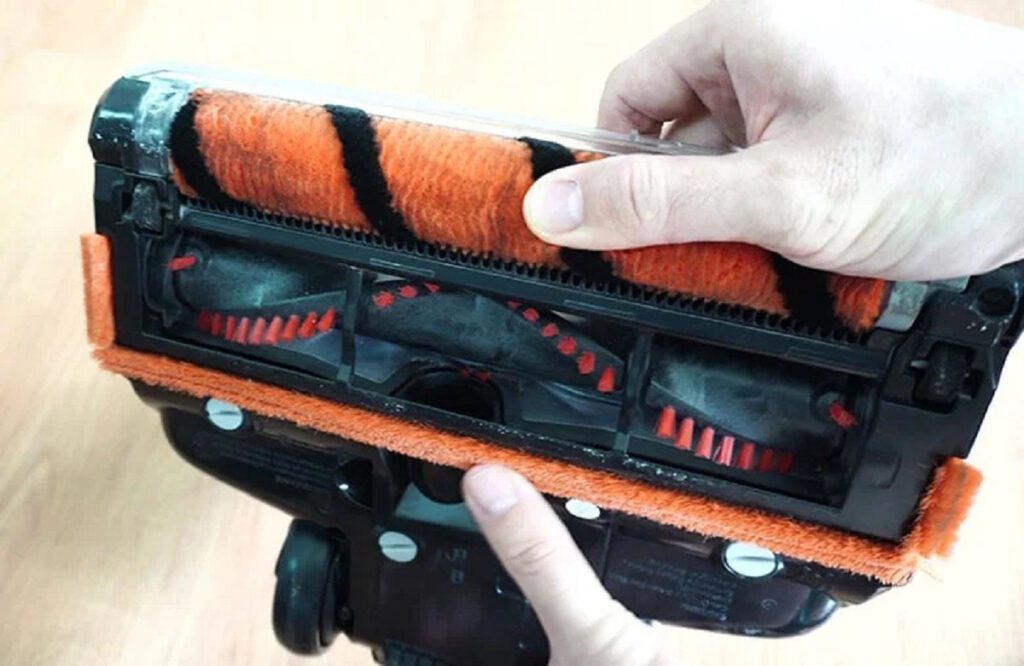
Step 4: Open up the roller brush
Have you already unscrewed all screws and loosened the faceplates? Then it is time to open up the roller from the vacuum. Usually, you can remove it without effort. First of all, pull out one side of the brush roller. Then pull the other end out of the holding belt to completely remove the roller. If you can’t open it easily, then rotate the roller gently.
Precaution to remove a brush roller from the Shark Wandvac
• Never force the roller brush from the belt before knowing its setting position
• Remember the ideal position of the roller brush so that you can set it up correctly later
• Read the manual user guide before replacing the new roller brush for your vacuum cleaner
• Must switch off and unplug the vacuum cleaner from the power source to prevent hazardously
Frequently Asked Questions (FAQs)
Q : How much may time require to remove a roller from shark wandvac?
Ans : Rushing can damage the roller. If you do it correctly, it will take you no more than a few seconds to remove a roller from the vacuum cleaner. You can do it within 10-15 seconds. But it is recommended not to hurry when removing the roller. Remember three things here.
• Must switch off and unplug the vacuum cleaner
• Turn the vacuum cleaner in the underside down position
• Read the user manual before replacing a new roller
Final words
Are you already aware of how to remove the roller from shark wandvac? Once again, we are summarizing this guide for your convenience. We have discussed a few simple steps. First of all, Unplug the vacuum cleaner from the power outlet. Secondly, turn the vacuum cleaner to the down underside position. Then pull out the roller carefully. Let us know if you feel any problem removing the brush roller.