How to Mop With a Bucket | Master the Art of Clean Floors!
To mop with a bucket, first fill the bucket with a mixture of water and appropriate cleaning solution. Next, dip the mop into the solution, wring it out, and clean the floor in sections.
Mopping effectively keeps your floors clean and extends their life. A proper technique ensures that you remove dirt and grime without just spreading it around. For the task, you need a good-quality mop and a bucket designed for mopping. Many buckets come with built-in wringers to help press out excess water, which is crucial for efficient mopping.
By maintaining a firm grip on the mop handle and using a consistent pattern—typically an ‘S’ shape—you ensure thorough coverage. Maintaining a rhythm keeps your body comfortable during the process and promotes a quicker drying time, reducing the risk of slips. Ensuring that you change the water as soon as it becomes dirty will help achieve the best cleaning results for your floors.
Credit: zogics.com
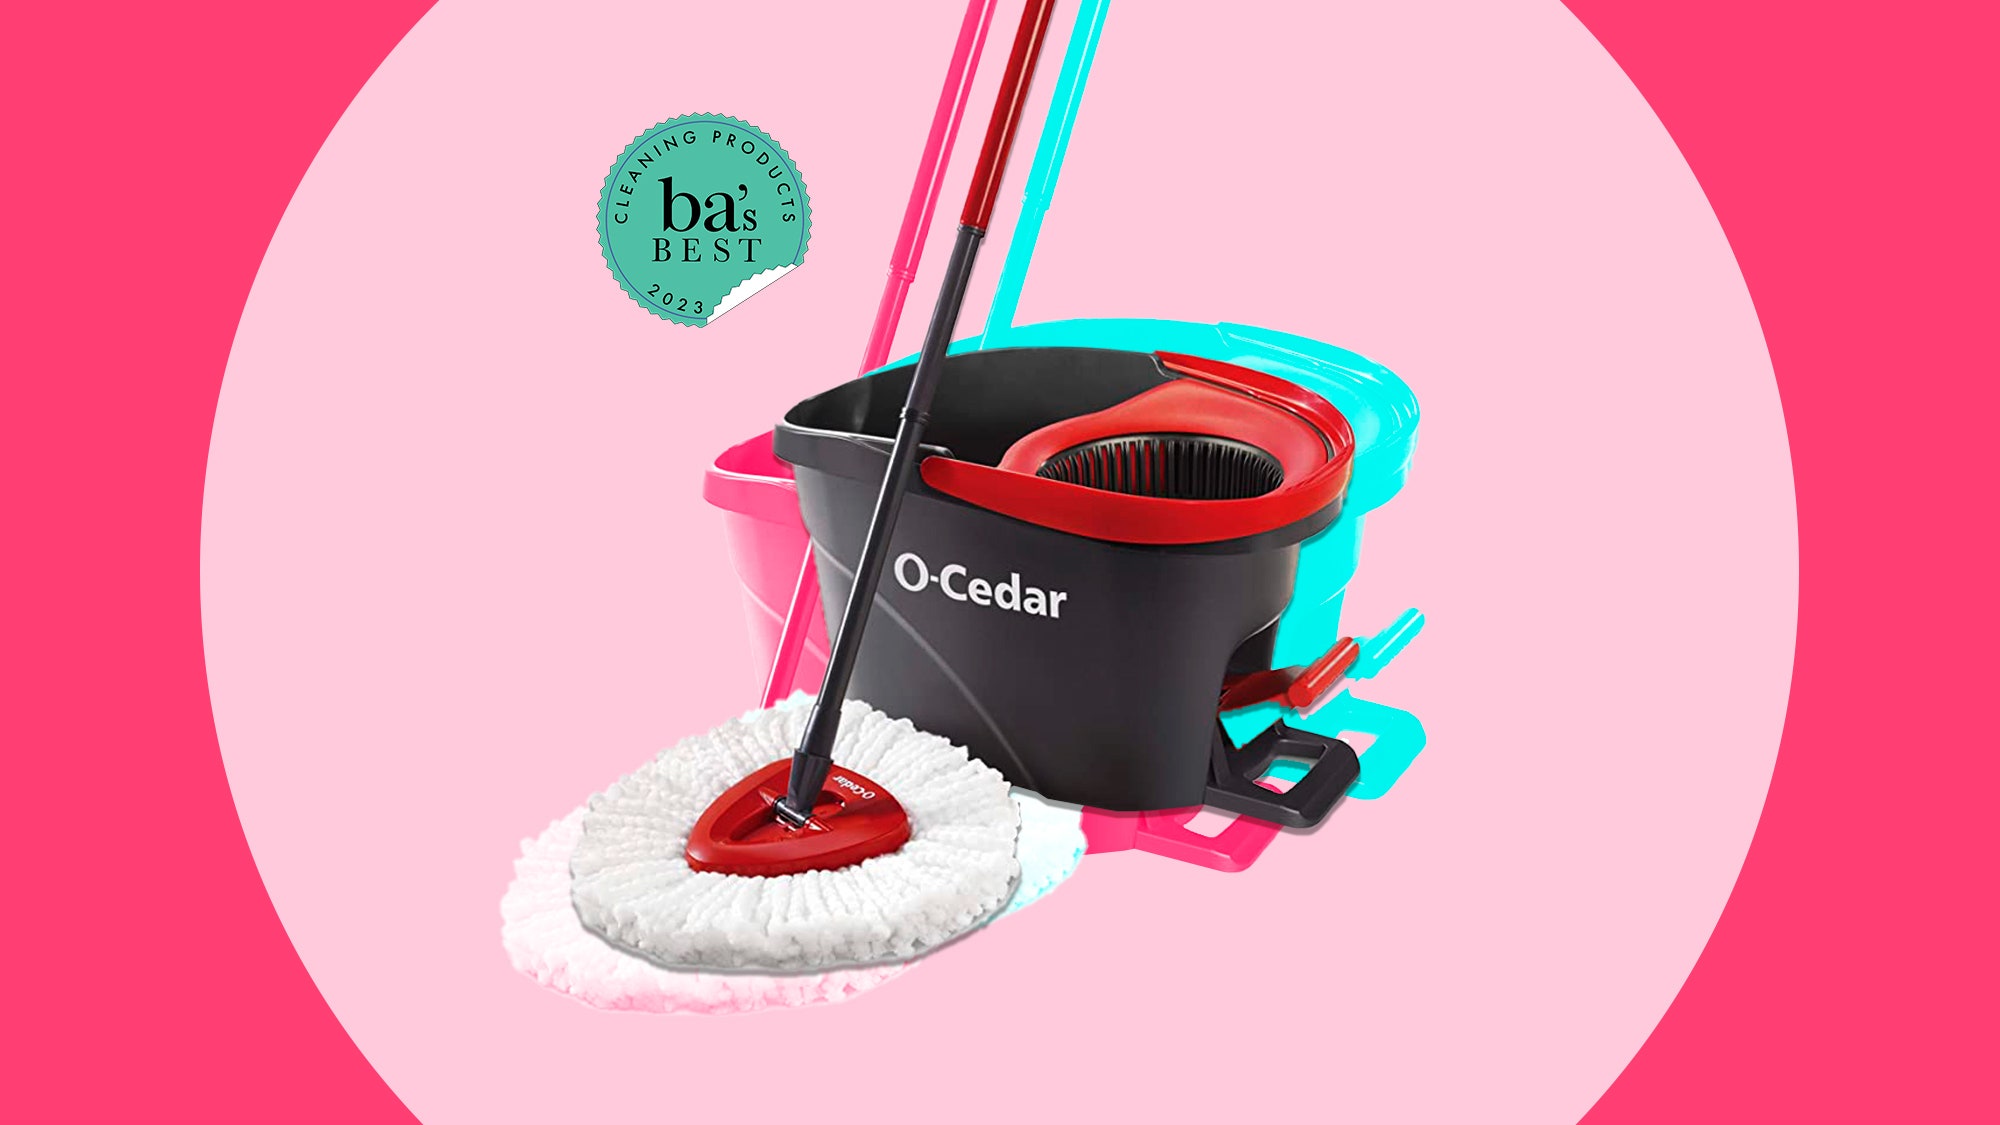
Gathering Your Mop And Bucket Essentials
Choosing the right mop is crucial for effective cleaning. Opt for microfiber mops, as they are highly absorbent and trap dirt well. For tougher jobs, string mops provide good scrubbing power. Flat mops work best for daily, light cleaning. Ensure the mop fits your comfort with a handle length that suits your height.
Picking the perfect bucket means finding one with an easy-to-use wringer. This feature helps in squeezing out excess water without straining your hands. A bucket with a pouring spout and sturdy handle makes for smooth disposal of dirty water. Some buckets come with wheels for easy maneuvering and should be considered if you have larger areas to clean.
Prepping Your Floor For The Ultimate Clean
Ensuring your floor is free from dust and debris is crucial before mopping. Grab a broom or vacuum to sweep thoroughly. This preparatory step will prevent grime from spreading once you mop. Not to mention, sweeping makes mopping more effective and less labor-intensive.
A clutter-free floor optimizes cleaning efficiency. Move furniture and toys aside to create an unobstructed space. Doing so allows for easier access and faster drying. Remember to lift items rather than drag them to avoid scratching the floor.
Mixing Your Cleaning Solution
Choosing the right floor cleaner is key to a shiny, clean floor. Before mixing, read the label on your chosen cleaner. Some floors need special care. Not all cleaners work on every floor type. Wood, tile, and laminate have different needs.
It is essential to get the water-to-cleaner ratio right. Too much cleaner can leave residue. Too little, and floors won’t get clean. The label will tell you the perfect ratio. For most cleaners, a capful per gallon of water is standard. For concentrated cleaners, you might need less. Follow the directions carefully to protect your floors and get them sparkling.
:max_bytes(150000):strip_icc()/slv-spin-mops-test-hapinnex-bucket-wringer-set-dburreson-132-5a07311484324605bcbccc4e227f859e.jpeg)
Credit: www.southernliving.com
The Mopping Technique That Works
The Mopping Technique that Works starts with dipping your mop into a bucket of cleaner. Then, squeeze out excess liquid by wringing the mop. This helps to avoid overly wet floors, which can damage surfaces and take longer to dry. Make sure to wring the mop thoroughly before you begin mopping.
Next, divide the floor into sections. Mop one section at a time to ensure even cleaning. Move from one section to the next, re-dipping and wringing the mop as needed. This approach keeps the mop clean and efficient. Your floors will sparkle without dirty streaks!
Finishing Touches For Sparkling Floors
Rinsing the mop is necessary to remove dirt and grime. Fill the bucket with clean water. Submerge the mop and swish it around to release the dirt. Empty the bucket when water looks dirty.
Refresh with new water to avoid spreading dirt. This ensures a truly clean floor. Use cool or warm water for best results.
| Task | Action |
|---|---|
| Rinse mop | Swish in clean water |
| Change water | When dirty |
After mopping, it’s vital to dry the floors. Use a clean, dry mop or a microfiber cloth. This will prevent slips and falls. It also helps to protect the floor’s finish. Allow floors to air dry completely before walking on them.
Maintaining Your Mop And Bucket
Proper care for your mop and bucket ensures longevity and optimal performance. After mopping, empty the bucket and rinse it well. Allow both the bucket and mop to dry completely to prevent mildew and odors. Hang the mop head facing down to dry faster, avoiding direct sunlight which can degrade the fibers.
To store them, find a cool, dry place. This guards against moisture and heat damage. Do not leave the mop in the bucket, as this causes bacteria growth. With these simple steps, maintain their condition and are always ready for your next clean-up task.

Credit: www.amazon.com
Conclusion
Mopping with a bucket can be simple and effective. Follow the steps outlined to keep your floors sparkling clean. Remember, regular maintenance is key. With the right supplies and technique, your mopping routine will be efficient, leaving you with more time to enjoy your pristine living space.