How to Fix Rubbermaid Mop Bucket | Simple Solutions!
To fix a Rubbermaid mop bucket, identify the problem first, such as a stuck wringer or leak. Consult the manual for specific parts and repair or replace them accordingly.
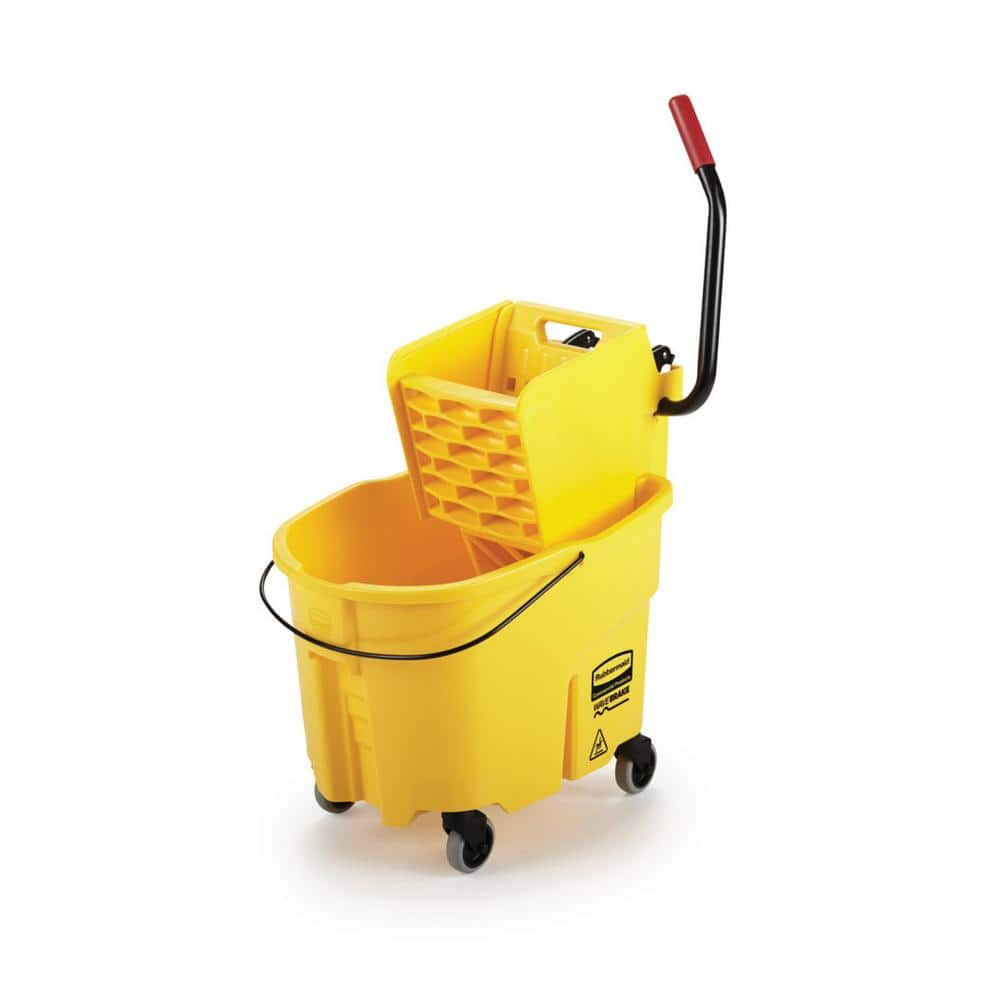
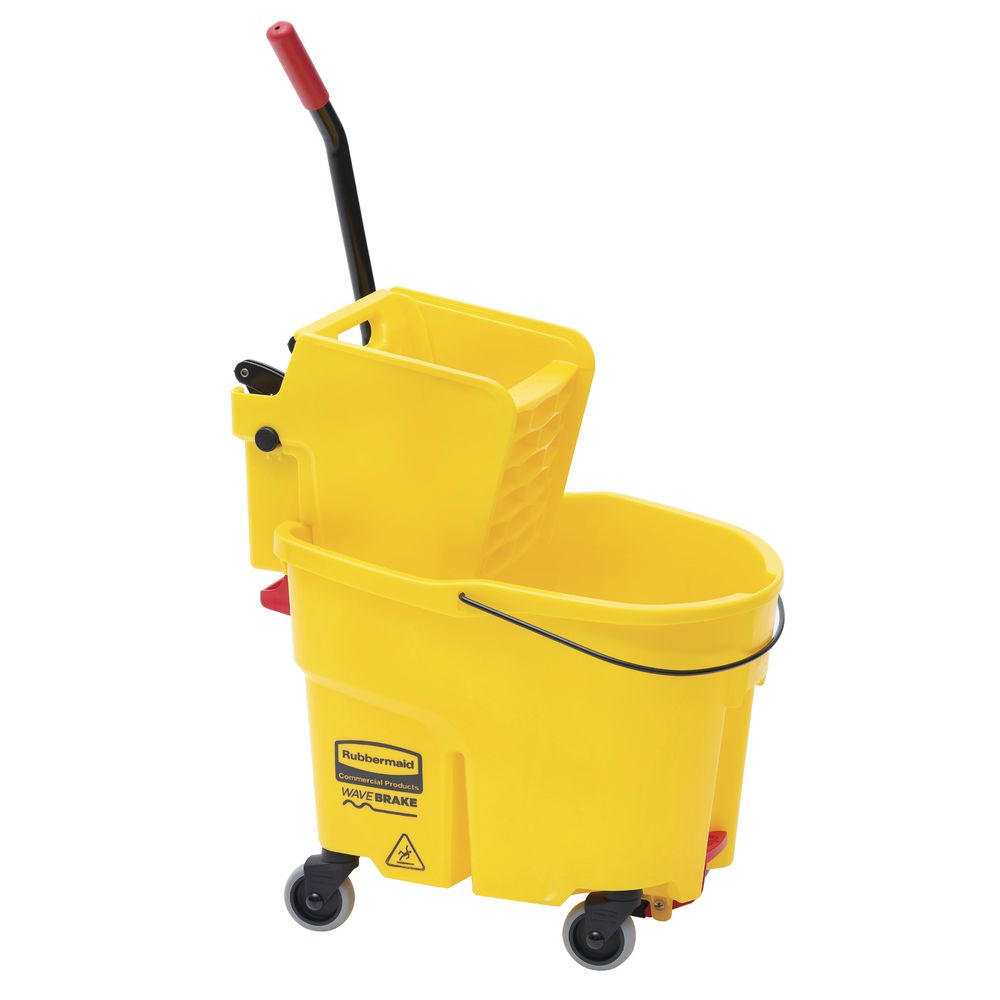
Dealing with a faulty Rubbermaid mop bucket can be frustrating, but it often entails straightforward troubleshooting. Rubbermaid products are built to last, yet daily wear and tear can lead to issues such as a malfunctioning wringer, a broken wheel, or leaks.
Homeowners and cleaning professionals alike depend on reliable equipment, so addressing problems with your mop bucket promptly ensures no interruption in your cleaning routine. The key is to recognize the signs of trouble early and perform the necessary repairs using the appropriate methods and replacement parts. By maintaining your Rubbermaid mop bucket, you extend its lifespan, conserve resources, and maintain a high standard of cleanliness.
Credit: www.homedepot.com
Common Issues With Rubbermaid Mop Buckets
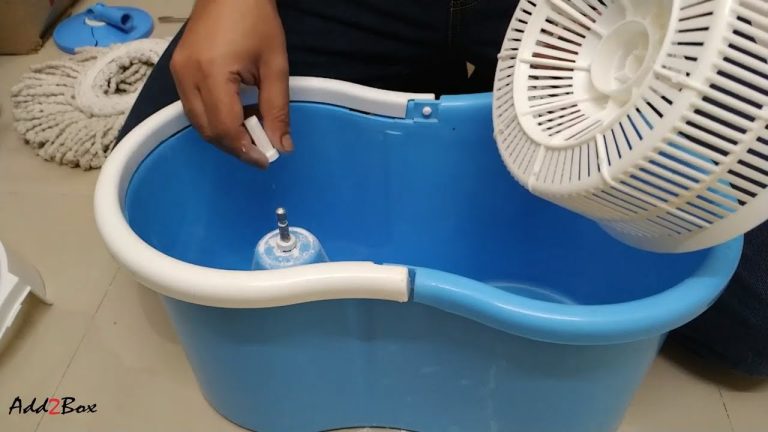
Stuck wheels on Rubbermaid mop buckets can halt cleaning tasks. Regular use can lead to debris accumulation. This is one cause of wheel jamming. To unstick these wheels, try to remove any visible dirt or lint. Sometimes, a gentle lubricant like WD-40 can help. Spray it carefully onto the wheels’ moving parts.
Wringer malfunctions often involve a broken or misaligned spring. Inspection and adjustment of this component can restore function. Check for any obvious signs of wear or damage. You may need to replace the spring if it’s beyond fix. For a total solution, following the Rubbermaid’s official replacement guidelines is best.

Credit: www.amazon.com
Troubleshooting Sticky Situations
Fixing a Rubbermaid mop bucket often starts with identifying the problem. Sticky wheels or a jammed wringer can be common issues. Look at each part of your mop bucket closely. You may find the wheels are not rolling smoothly or the wringer is not moving easily.
For DIY quick fixes, a good step is to clear out any debris from the wheels. Use simple tools like tweezers or toothpicks to remove trapped dirt. If the wringer is stuck, applying a bit of lubricant can help. Always use lubricants safe for plastics to avoid damage.
- Clean the wheels to ensure smooth movement.
- Use plastic-safe lubricant on the wringer for easy operation.
- Check for broken parts that might need replacement.
Wheel And Axle Repairs
Fixing your Rubbermaid mop bucket requires a few easy steps. Replacing faulty wheels is important to keep it moving smoothly. To replace, first, take off the old wheel. Next, slide the new wheel into place. Make sure it clicks in securely. Check it rolls without wobble.
Lubrication ensures that wheels glide without sticking. Apply a small amount of oil to the axle. Grease helps to reduce friction. Regular maintenance extends your bucket’s life. Always use the recommended type of lubricant.
Reviving The Wringer
Reviving the Wringer requires proper adjustment of the tension springs. Weak or loose springs will hinder performance. Ensure springs are tight for optimal wringing. Replace springs if they are damaged or overly stretched.
Follow this guide for Wringer Replacement:
- Unscrew the wringer from the bucket.
- Remove the old wringer unit.
- Place the new wringer in position.
- Screw in firmly to secure.
Check the device after assembly. Ensure everything moves smoothly. Regular maintenance keeps your Rubbermaid Mop Bucket functional.
Maintaining Your Mop Bucket
Maintaining your mop bucket is crucial for its longevity. Regular cleaning is the first step. Rinse it after each use to remove dirt and particles. Let it air-dry completely to prevent mildew.
Preventive care can help avoid most mop bucket issues. Check for loose parts regularly and tighten them. Use only recommended cleaners to avoid damage. By taking these steps, you’ll ensure your mop bucket functions effectively for a long time.
When To Seek Professional Help
Detecting unfixable damage to your Rubbermaid mop bucket is crucial. Cracks or splits often signal end-of-life for the bucket. Persistent leaks or broken wheels also indicate irreparable harm. If the mop wringer mechanism fails and spare parts are unavailable, the unit might not be salvageable.
Reliable repair services can extend your bucket’s life. Seek out experts who specialize in Rubbermaid products. Check online reviews or ask friends for trusted technicians. Ensure they offer a warranty for their work, which shows confidence in their service quality. Remember, professional diagnosis is often free and saves money in the long run.
Credit: www.hubert.com
Conclusion
Restoring your Rubbermaid mop bucket’s functionality doesn’t have to be complex. With the right instructions and a touch of DIY spirit, small issues can be fixed swiftly. Remember, regular maintenance can prevent future malfunctions, keeping your cleaning routine smooth and efficient.