How to Fix Mop Bucket | Quick & Easy Solutions!
To fix a mop bucket, identify the problem such as a broken handle or stuck wheels, then replace the faulty part. Troubleshoot the wringer mechanism for jams and ensure proper functionality by lubricating moving parts.
A malfunctioning mop bucket can halt cleaning progress, making swift repairs crucial for maintenance efficiency. Dealing with common mop bucket issues typically involves either replacement or adjustment of components. Whether you’re facing a leaky bucket, a dysfunctional wringer, or a mobility issue due to faulty casters, the key is to quickly diagnose and address the fault.
Most mop buckets are designed with simplicity in mind, ensuring that parts are readily accessible and can be replaced with basic tools or no tools at all. By keeping your mop bucket in good working order, you ensure a seamless cleaning experience and prolong the life of your equipment. Remember to regularly inspect your mop bucket for signs of wear or damage, and tackle repairs as soon as issues arise.
Common Mop Bucket Issues
Fixing a mop bucket can seem tough. Yet, it’s easier with the right know-how. Let’s tackle a few common mop bucket issues.
A broken wringer mechanism often needs a new part. Check the manufacturer’s site for a replacement. Simple tools like a screwdriver can help you install it.
Leaks and cracks in the mop bucket can be a nuisance. A waterproof sealant might do the trick. Apply it along the damaged area and let it dry thoroughly.
Sticky caster wheels can be annoying while cleaning. WD-40 or another lubricant can make them roll smoothly again. Just spray a small amount on the wheels.
Tools And Materials Needed
Fixing a mop bucket requires specific tools and materials. Ensure you have a screwdriver, replacement parts, and lubricant ready. To prevent any issues, keep a user manual close by. Gather all items before starting the repair work.
- Screwdriver for disassembling.
- Replacement parts like wheels or wringer.
- Lubricant for smooth mechanism.
- User manual for guidance.
For optional enhancements, consider having silicone sealant or strong adhesive. These can help with sealing any leaks or reinforcing weak joints. Quality cleaning with mild soap and water can also prolong the life of your mop bucket.
Step-by-step Repair Guide
Fixing a mop bucket involves several steps to ensure it works perfectly. Begin by identifying the problem with your mop bucket. A common issue might be a broken wringer or a leaky bucket.
To dismantle the mop bucket, remove any screws or fasteners that hold the components together. Carefully take apart the wringer mechanism. Make sure to keep all parts in a safe place so you don’t lose them.
Once the problem has been found, you may need to replace or repair the damaged part. Always use the right tools to fix or replace any parts.
After addressing the problem, start rebuilding the mop bucket. Replace each part in the opposite order it was removed. Ensure all pieces are securely fastened. Test the bucket to make sure it’s working correctly.

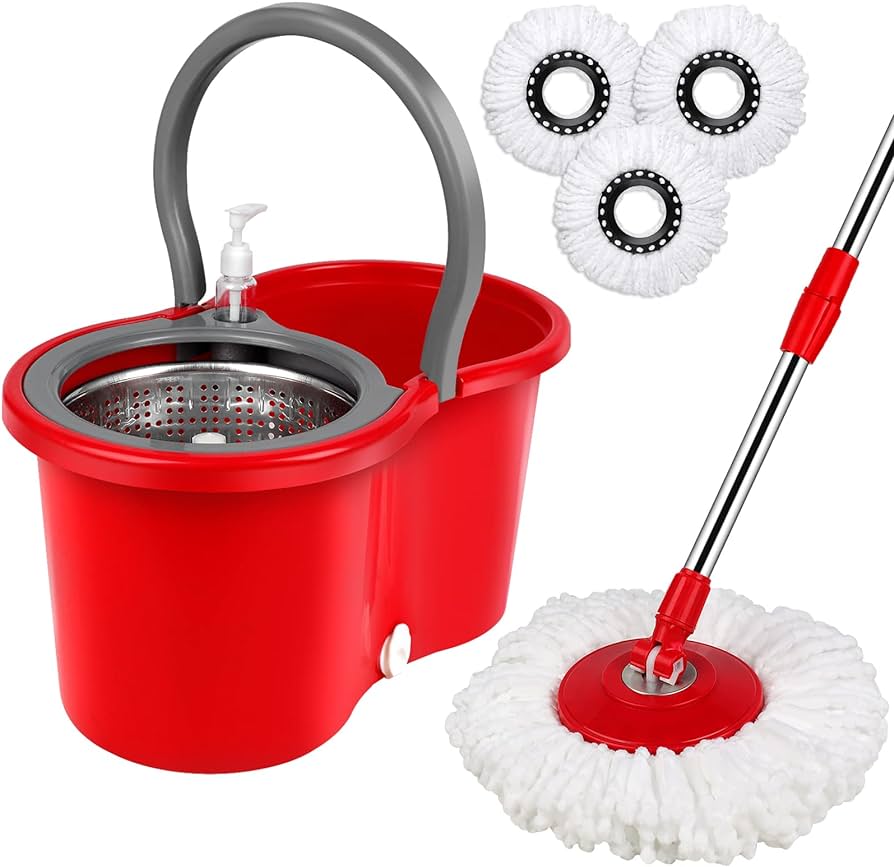
Credit: www.amazon.com
Preventive Maintenance Tips
Maintaining your mop bucket ensures its longevity and functionality. Regular cleaning is crucial to prevent dirt build-up and foul odors. Use soapy water and a brush to scrub the bucket’s interior. Rinse thoroughly to remove any soapy residue. For moving parts, periodic lubrication keeps them operating smoothly. Check the wringer, wheels, and handle every month. Apply a silicone-based lubricant to avoid rust and wear.
| Part | Action | Frequency |
|---|---|---|
| Wringer | Lubricate | Monthly |
| Wheels | Check and clean | Monthly |
| Handle | Tighten and lubricate | Monthly |
Alternative Solutions
Dealing with a broken mop bucket can be a nuisance. Before tossing it out, consider creative ways to repurpose it. An old bucket can become a new home for plants, offering a quirky touch to your garden. Try using it as a storage container for toys or garage tools – its durability is a plus.
Still, sometimes a replacement is the best option. Assess the damage to your mop bucket. If it’s beyond repair, such as when there are leaks that can’t be fixed, purchasing a new bucket is warranted. Always prioritize safety and efficiency in your cleaning routine.

Credit: www.onegoodthingbyjillee.com
Safety And Troubleshooting
Ensuring safety while fixing a mop bucket is crucial. Always wear protective gloves and eyewear. Read the manual before using any tools. Keep tools away from children. Secure the bucket to prevent slips and spills.
Tackling stubborn mop bucket issues means checking for cracks or breaks. A damaged bucket needs replacement parts. Sometimes, a deep clean can fix minor problems. If parts are stuck, use lubricant to loosen them. Always turn off and unplug any mechanical moppers before attempting repairs.
:max_bytes(150000):strip_icc()/bhg-cleaning-supplies-storage-area-101593956-1b7e88f4f9444ad382645a68be44e94e.jpg)
Credit: www.realsimple.com
Conclusion
Repairing a mop bucket doesn’t have to be daunting. By following the steps outlined, you can extend the life of your cleaning tool easily. Remember, regular maintenance can prevent future issues. So tackle those pesky leaks and breaks, ensuring your mop bucket is always ready for action.