How to Fix Cedar Mop Bucket: Easy, Swift Solutions!
To fix a cedar mop bucket, inspect for cracks or leaks and repair them with waterproof sealant or wood glue. Replace broken handles or casters with new hardware as needed.
Maintaining a cedar mop bucket is essential to ensuring its longevity and functionality. Over time, these buckets can suffer wear and tear from regular use, leading to issues that require attention. Homeowners and cleaning professionals alike will find themselves needing to address common problems such as leaks, loose parts, or deterioration.
Addressing these issues promptly can save time and money, and with the right approach, repairing a cedar mop bucket is a straightforward task. The key is to identify the problem areas, gather the appropriate tools and materials, and apply a simple yet effective fix. Regular maintenance and quick repairs will keep your cedar mop bucket in good condition, ready to tackle any cleaning job.
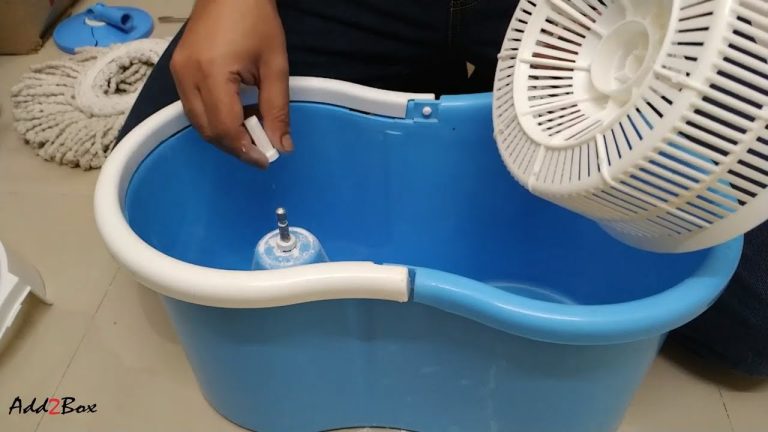
Credit: www.tiktok.com
Identifying Common Issues With Cedar Mop Buckets
Leakage and cracks can be a hassle in Cedar mop buckets. Cedar wood can split or crack, allowing water to leak. This issue often arises from dry environments or improper care. To tackle this, you might apply wood glue to the affected area or use a cedar sealant for minor cracks.
Worn-out components need attention too. These include the handle, wringer, or the wheels. Each part has a role in your mop bucket’s function. A broken handle or a rusty wringer can affect its performance. You might need to replace these parts if they are beyond repair.
Tools And Materials Needed For Repair
To fix a Cedar mop bucket, certain tools and materials are crucial. Have a screwdriver, both flathead and Phillips, on hand. Don’t forget pliers and an adjustable wrench. A tape measure and a hammer may also be needed. For sealants, waterproof silicone works best for mending leaks. A rubber seal might be essential for a tight seal. These items form the core of a basic repair toolbox.
Strengthening a handle or wheel requires hardware fasteners such as screws or nuts and bolts. An epoxy resin can fix wooden parts. For small cracks, a wood filler is ideal. Always choose quality fixatives for long-lasting repairs.
Step-by-step Guide To Fixing Leaks
Fixing a cedar mop bucket often requires identifying where it leaks. First, fill the bucket with water and mark any spots where water drips out. Make sure the bucket is dry before applying sealant. Using a silicone-based sealant works best for these repairs.
For applying the sealant, carefully spread a thin layer over each leak. Allow it to dry completely. Checking the bucket with water again ensures no more leaks are present.

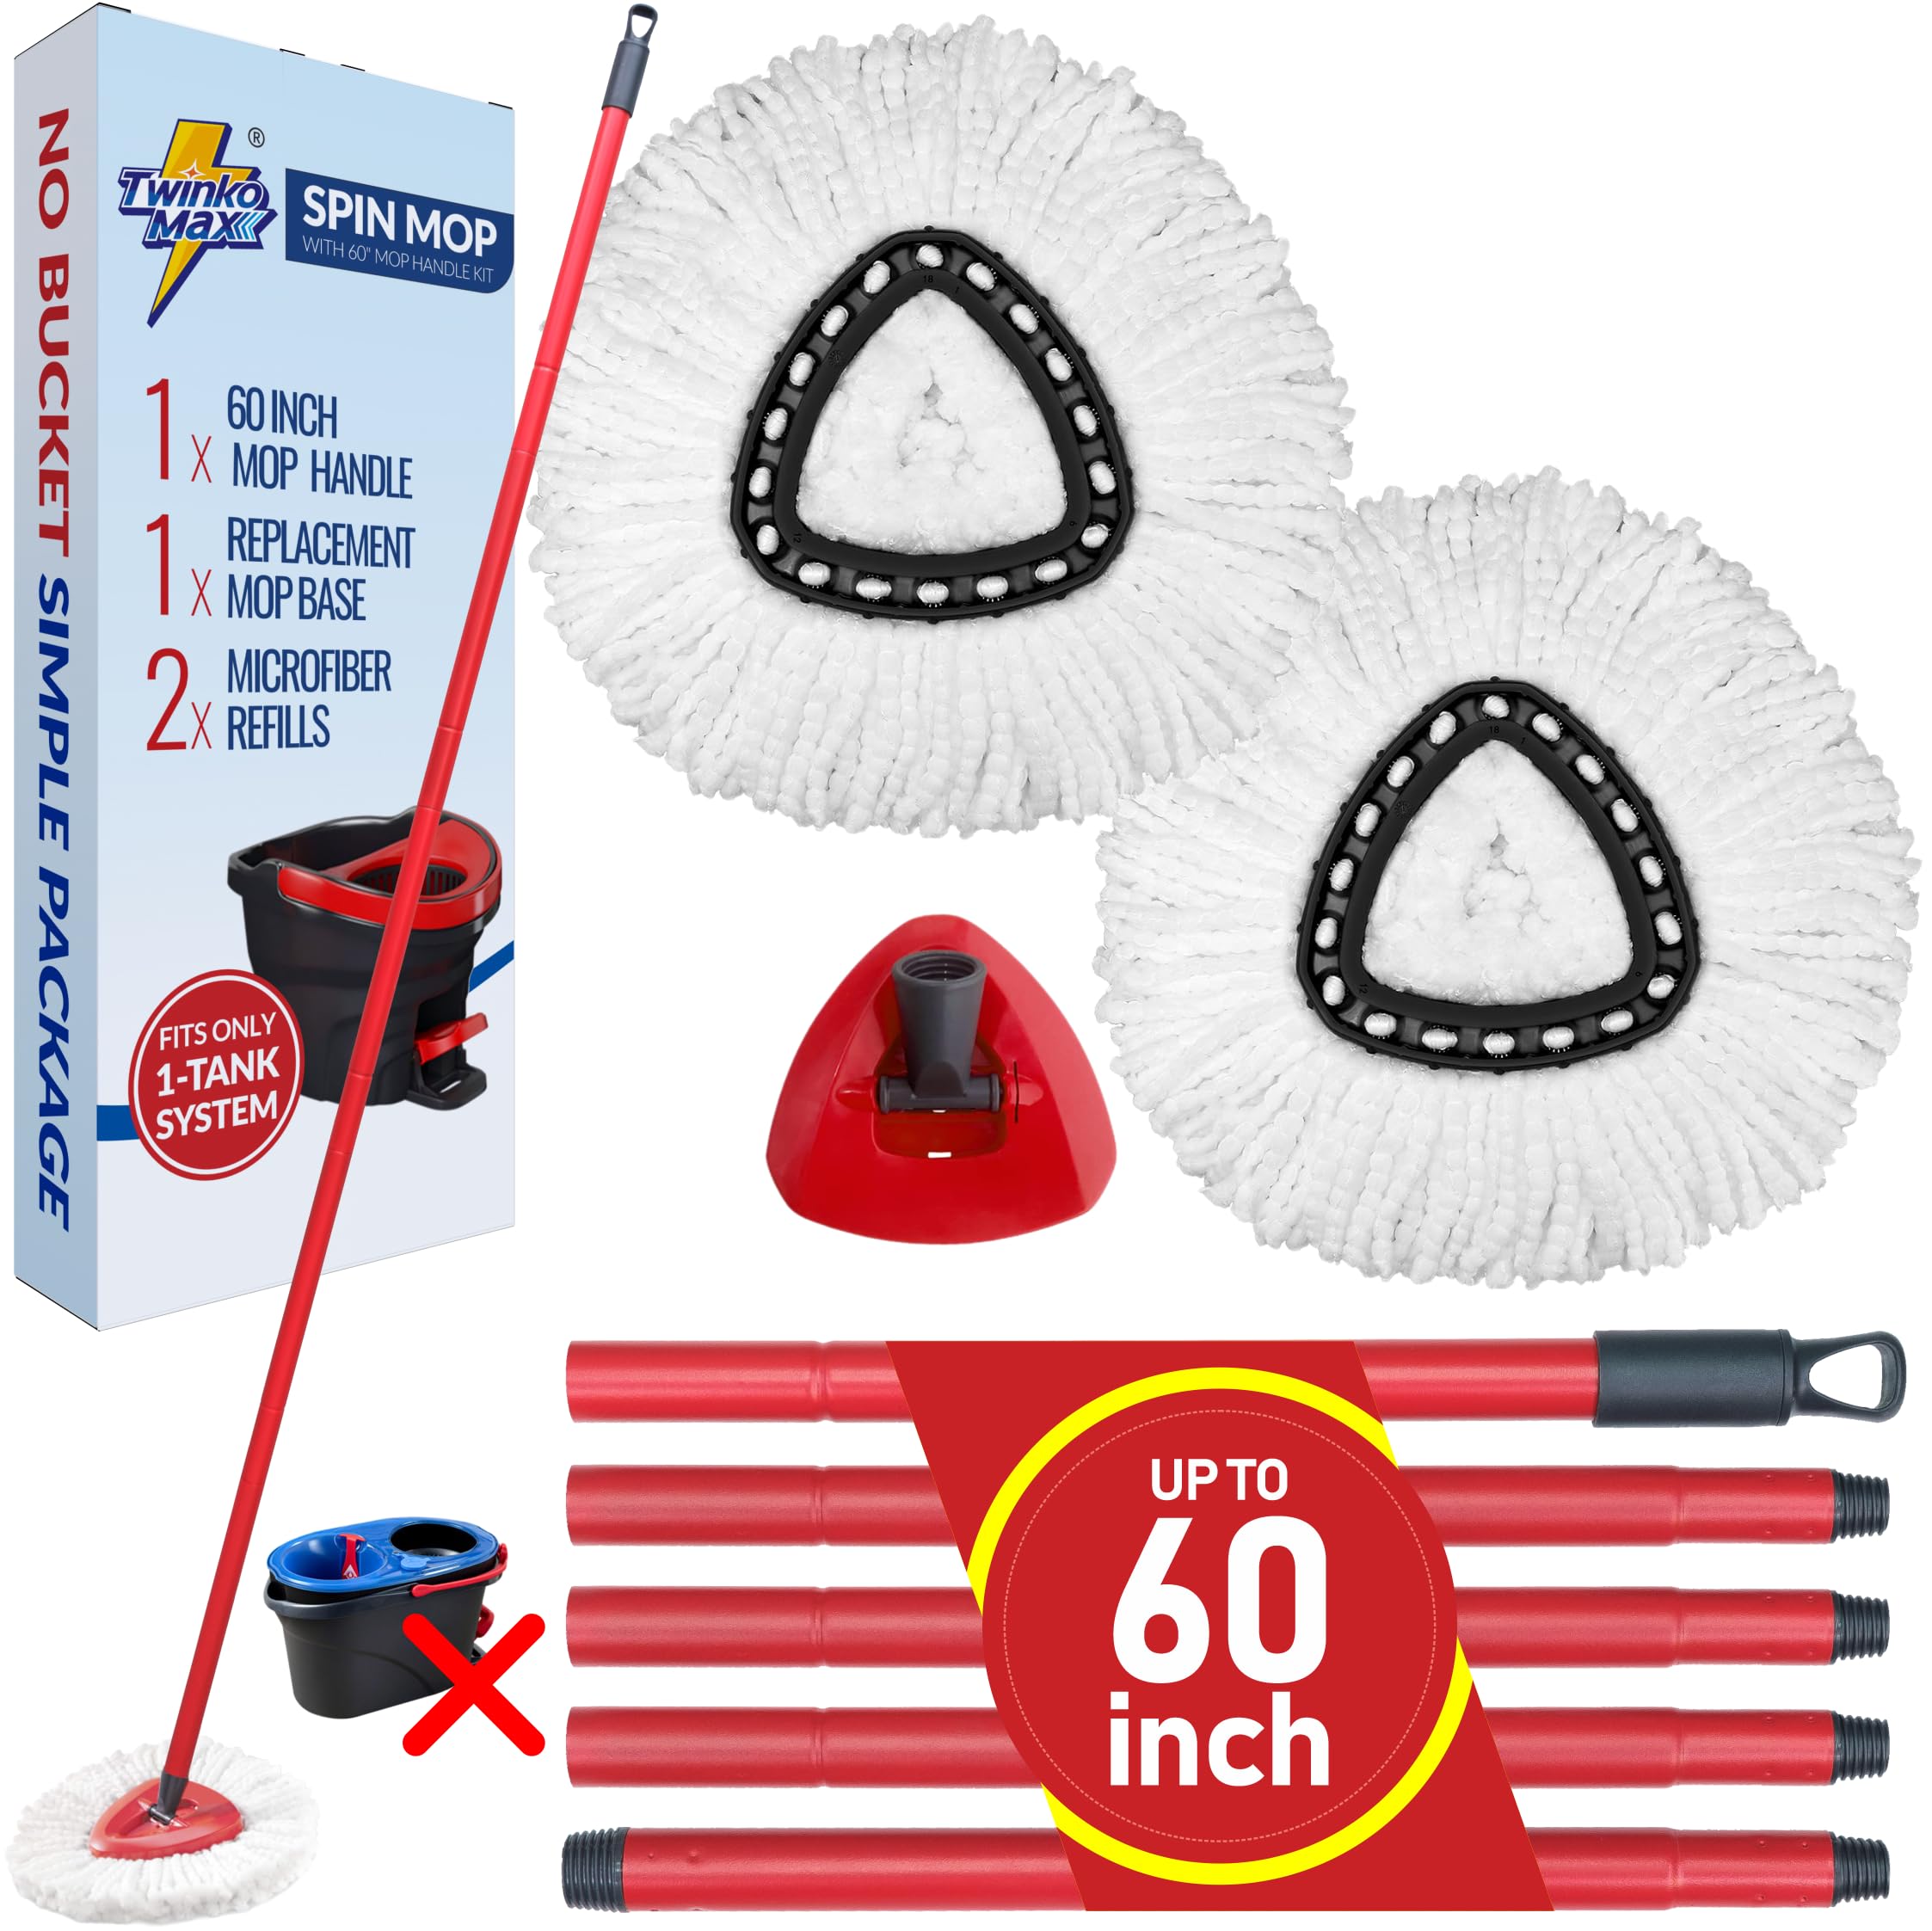
Credit: www.amazon.com
Replacing Old Parts
Fixing a cedar mop bucket can be simple. Begin by removing broken pieces. Wear gloves to protect your hands. Gently take out the damaged parts. Ensure all small fragments are also removed. This avoids future injuries or mop damage.
After cleaning the bucket, start installing new components. Check the manufacturer’s guide for the correct parts. Securely fit each piece into place. Test the components to make sure they work right. This ensures your safety and the mop’s proper function.
- Wear safety gloves
- Gently remove the broken parts
- Clear all fragments
- Follow the manufacturer’s instructions
- Securely install new parts
- Test all components
Maintaining Your Cedar Mop Bucket
Maintaining your Cedar Mop Bucket is essential for its longevity.
Regular cleaning is straightforward and keeps the bucket in top shape.
Empty the bucket after each use, rinse with clean water, and let it dry.
- Avoid harsh chemicals; they can damage the wood.
- Use mild soap for removing tough grime.
- Regular oiling of the wood can prevent cracks.
Protective measures are key to extend the bucket’s life.
- Store in a cool, dry place to prevent molding.
- Do not expose it to prolonged sunlight or rain.
- Ensure metal parts are dry before storage to avoid rust.
Conclusion
Ensuring your cedar mop bucket is properly maintained can significantly extend its life and performance. By following the steps outlined above, you’ll keep your cleaning tool in top shape. Remember, regular checks for damage and swift repairs are key. With these tips in hand, your cedar mop bucket will be a reliable companion for all your cleaning tasks.