How to Fix Bucket Mop?
To fix a bucket mop, first ensure the handle is securely attached to the mop head. If it’s loose, tighten the screws.
If the mop head is worn out, replace it with a new one. You can fix any cracks or leaks in the bucket by sealing them with waterproof adhesive or duct tape. Check for any clogs in the mop wringer and clear them to ensure smooth operation.
Proper maintenance and timely repairs will keep your bucket mop in good working condition. A bucket mop is a handy tool for keeping your floors clean, but it can develop issues over time. Whether it’s a loose handle, worn-out mop head, or a leaky bucket, knowing how to fix these problems can save you money and extend the life of your cleaning equipment. We’ll provide easy and practical tips for addressing common bucket mop issues, so you can keep your floors sparkling without any hassle.

Credit: www.pinterest.com
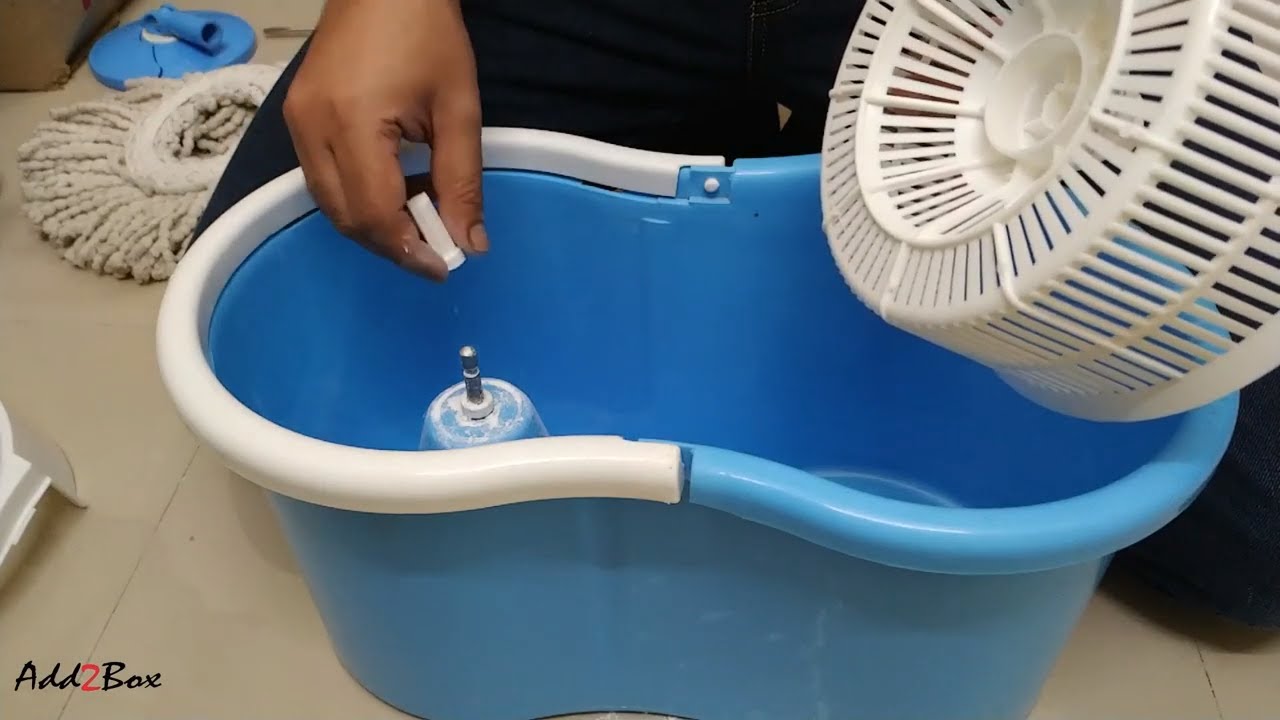
Common Issues With Bucket Mops
Loose Handle: If your bucket mop has a loose handle, you can fix it by tightening the screws at the joint. Use a screwdriver to secure the handle in place and prevent it from wobbling during use. Regularly check the screws to ensure they stay tight, prolonging the lifespan of your bucket mop.
Leaking Bucket: A leaking bucket can be resolved by inspecting the seal between the bucket and the wringer. If the seal is damaged or worn out, apply silicone sealant to create a watertight barrier. Additionally, check for cracks in the bucket and replace it if necessary to prevent water leakage during mopping.

Credit: www.webstaurantstore.com
Fixing A Loose Handle
When fixing a loose handle on a bucket mop, it’s crucial to first identify the cause. Loose handles are commonly caused by wear and tear or improper installation. If the handle is loose due to wear and tear, tightening the handle may solve the issue. However, if it’s a result of improper installation, reinstalling the handle may be necessary to ensure a secure fit.
Inspect the handle and the attachment point carefully to determine the cause of the looseness. If it’s a result of wear and tear, consider using appropriate tools to tighten the handle securely. Conversely, if the issue is related to improper installation, focus on properly assessing and addressing the installation process. The key is to identify the cause and take the necessary steps to fix the bucket mop handle effectively.
Fixing A Leaking Bucket
Leaking buckets can be a hassle, but with a few simple steps, you can easily fix them. The first step is to locate the leak. Fill the bucket with water and observe where the water is seeping out. Once you have identified the area, you can apply a temporary patch. One easy way is to use duct tape or waterproof sealant. Simply cover the leak with the tape or sealant and press firmly to ensure it adheres well.
This will provide a temporary fix until you can replace the bucket sealing. To replace the sealing, you can purchase a bucket repair kit from a hardware store. Follow the instructions provided, which usually involve applying a new sealing compound around the leaky area. With these steps, you can have your bucket fixed and ready to use again in no time!
Maintaining Your Bucket Mop
Properly cleaning and storing your bucket mop can help extend its lifespan and ensure effective cleaning. Cleaning the mop head regularly is essential to prevent the buildup of dirt and germs. To clean the mop head, rinse it thoroughly with clean water after each use. For a deeper clean, soak the mop head in a mixture of warm water and mild detergent for about 15 minutes. Rinse it again before allowing it to air dry completely.
When it comes to storing your bucket mop, it is important to keep it in a well-ventilated area to prevent mold and mildew. Hang the mop to dry completely before storing it. Avoid storing the mop head in a damp or humid environment as this can cause unpleasant odors and deterioration of the fibers. Additionally, consider placing a protective cover over the mop head to prevent dust and dirt from accumulating.
By following these simple steps, you can keep your bucket mop clean and in good condition, ensuring efficient and hygienic cleaning every time.
Choosing The Right Bucket Mop
Consider the material: When purchasing a bucket mop, it is important to choose one made of durable materials such as stainless steel or sturdy plastic. This ensures longevity and prevents rusting or breakage.
Check the handle design: Look for a bucket mop with an ergonomic handle design. This allows for a comfortable grip and reduces strain on your hand and wrist while cleaning. Consider the length of the handle as well. It should be long enough to reach the floor easily, especially if you have back or knee problems.
Some bucket mops come with adjustable handles, allowing you to customize the length according to your preference and needs.Look for a bucket mop with a sturdy wringer mechanism. A good wringer makes it easier to squeeze out excess water from the mop head, leaving it damp, which is ideal for effective cleaning.
Selecting the right bucket mop is crucial for efficient and comfortable cleaning. Consider the material, handle design, and wringer mechanism to find the best bucket mop for your needs.

Credit: m.youtube.com
Frequently Asked Questions Of How To Fix Bucket Mop?
How Do I Fix A Broken Bucket Mop?
To fix a broken bucket mop, start by assessing the damage. If the handle is loose, tighten the screws or replace it if necessary. For mop head issues, check if it needs cleaning or replacement. Lastly, if the bucket has cracks, you can repair them with waterproof sealant or replace the bucket altogether.
What Should I Do If The Mop Is Not Spinning Properly?
If your mop is not spinning properly, ensure that the mop head is properly attached and secured. Check if there are any obstructions or tangled debris preventing it from spinning. If necessary, clean the mop head thoroughly to remove any dirt or debris that might hinder its movement.
How Can I Fix A Leaking Bucket Mop?
To fix a leaking bucket mop, first, identify the source of the leak. It could be a cracked bucket or a faulty seal around the spout. If it’s a crack, you can try sealing it with waterproof adhesive or replace the bucket.
For a faulty seal, remove any debris, tighten the connections, or replace the seal if necessary.
Can I Replace The Mop Head?
Yes, you can replace the mop head. Most bucket mops have detachable heads that can be removed and replaced when they wear out or become too dirty to be effective. Check the manufacturer’s instructions or the mop’s packaging to ensure you choose the correct compatible mop head for replacement.
Conclusion
Fixing a bucket mop is a simple task that can be done by following these easy steps. By first identifying the issue, such as a broken handle or a loose mop head, you can then proceed to find the appropriate solution.
Whether it be repairing or replacing parts, taking care of your bucket mop will ensure its longevity and effectiveness in cleaning. With just a little bit of effort and attention, you can have your bucket mop working like new in no time.