How to Fix a Robot Vacuum | A Step-by-Step Repair Manual
To fix a robot vacuum, check for any blockages and clean the sensors and brushes. Then, reset the vacuum if necessary.
Robot vacuums can be a convenient tool for keeping your floors clean, but like any other appliance, they can encounter issues from time to time. If you’re having trouble with your robot vacuum, don’t panic. There are a few simple steps you can take to fix common problems.
Inspect the vacuum for any blockages and remove them. Next, clean the sensors and brushes thoroughly. If the vacuum still isn’t working properly, try resetting it. By following these steps, you can resolve many issues and have your robot vacuum back in top shape in no time.
Cleaning The Dustbin
A key component of fixing a robot vacuum is cleaning the dustbin. Regularly emptying the dustbin is vital to ensure optimal performance. By checking for clogs in the dustbin, any obstructions can be removed, allowing the vacuum to work efficiently.
Cleaning the dust sensor is important as it helps the vacuum navigate and detect obstacles. To empty the dustbin, simply remove it from the vacuum and dispose of the collected dirt and debris. It is recommended to clean the dustbin regularly to prevent dirt buildup and maintain the vacuum’s suction power.
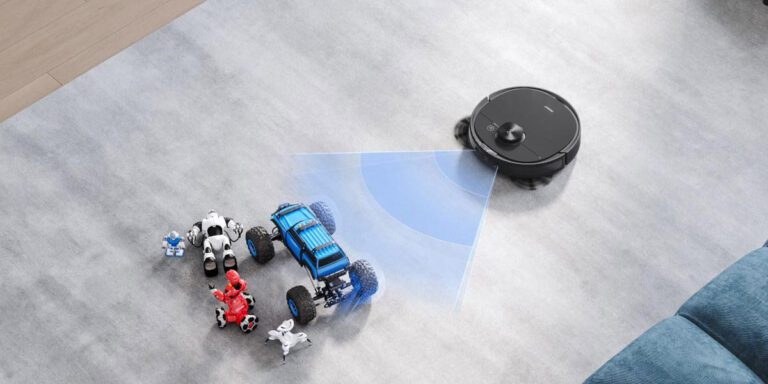
Fixing Navigation Problems
A robot vacuum experiencing navigation problems can be fixed by addressing obstacles in its path and conducting necessary resets and calibrations. To remove obstacles, ensure there are no loose cables, small objects, or rugs with fringes on the vacuum’s route.
To reset the mapping function, consult the user manual for specific instructions as this may vary across brands and models. Calibrating the navigation sensors is crucial for accurate movement. By following the manufacturer’s guidelines, you can ensure the sensors are properly aligned and functioning optimally, allowing the vacuum to efficiently navigate your home.
By addressing these issues and taking the necessary steps, you can fix your robot vacuum and improve its overall performance.
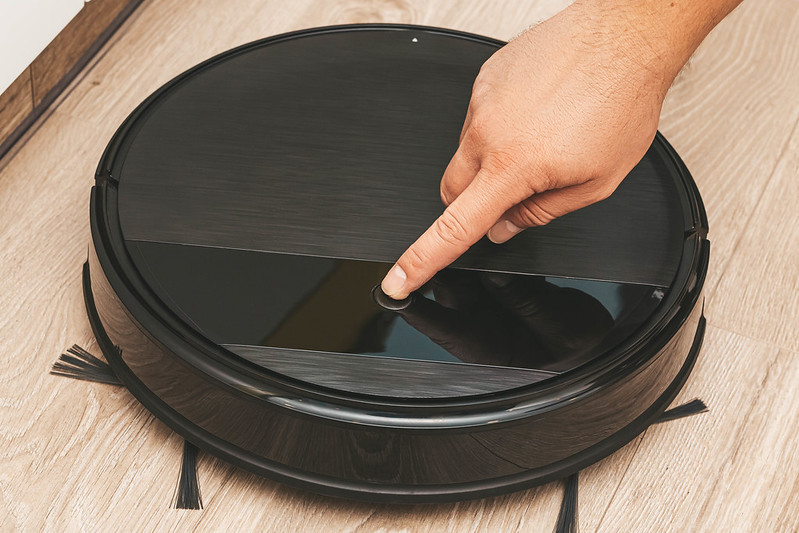
Resetting And Restarting The Robot Vacuum
To fix a robot vacuum, start with performing a hard reset. This can be done by pressing and holding the reset button for 10 seconds. Another option is to restart the vacuum’s software by turning it off and then back on after a few minutes.
This can help resolve any software glitches that may be causing issues. Additionally, make sure to reconnect the vacuum to Wi-Fi to ensure it is properly connected and able to receive updates. By following these steps, you can troubleshoot and fix common problems with your robot vacuum, allowing it to work efficiently once again.
Replacing Worn-Out Parts
When fixing a robot vacuum, one common issue is worn-out parts. To address this, start by changing the brush roll. Remove the old one and replace it with a new one. Next, swap out the side brushes. These can become worn or tangled, affecting the vacuum’s performance.
Install a new filter to ensure proper suction and prevent clogs. Keeping all these parts in good condition will help your robot vacuum work efficiently and keep your floors clean. Regular maintenance and replacement of worn-out parts are key to extending the lifespan and functionality of your robot vacuum.
Addressing Connectivity Issues
When fixing a robot vacuum’s connectivity issues, troubleshooting Wi-Fi connection problems is crucial. One effective step is resetting the vacuum’s connection to the app. This can help resolve any connection glitches that may have occurred. Another essential action is updating the vacuum’s firmware.
This ensures that the vacuum has the latest software, increasing its efficiency and connectivity. By following these steps, users can address connectivity issues with their robot vacuums and enjoy uninterrupted cleaning capabilities.

Credit: www.ecovacs.com
Dealing With Error Codes
Interpreting common error codes is an important task when dealing with error messages on your robot vacuum. Clearing error codes requires a systematic approach and attention to detail. By understanding the error codes, you can easily identify the underlying issue.
Solving persistent error messages may involve troubleshooting or resetting your robot vacuum. Check the user manual for specific instructions on how to fix the error codes. Some common error codes include battery issues, sensor malfunctions, or blockage detection problems. It is recommended to take note of the error code displayed on the vacuum’s screen and consult the troubleshooting guide provided by the manufacturer.
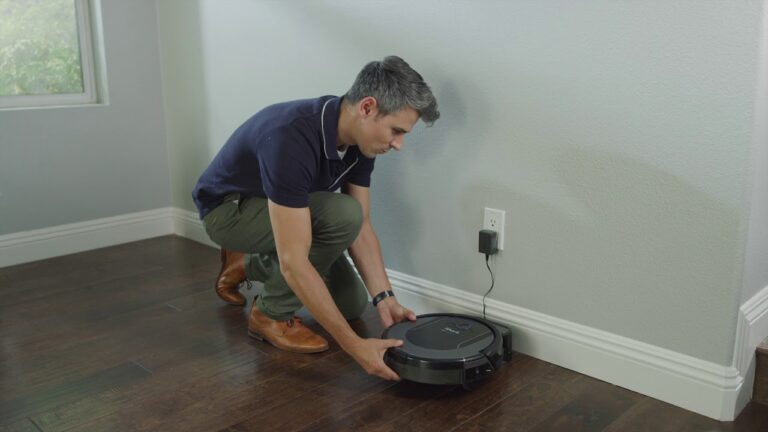
Handling Battery And Charging Problems
When fixing a robot vacuum, it’s important to address battery and charging problems. To improve battery life, start by checking the charging base and connectors for any issues. Make sure everything is properly connected and functioning. If the battery is faulty, it may need to be replaced with a new one.
By addressing these common issues, you can ensure that your robot vacuum runs smoothly and effectively. Keep an eye on battery health and charging to maintain optimal performance and maximize the lifespan of your robotic vacuum cleaner. Remember to perform regular maintenance and troubleshooting to keep your robot vacuum in top shape.
Frequently Asked Questions For How To Fix A Robot Vacuum
Why Did My Robot Vacuum Stop Working?
Your robot vacuum may have stopped working due to several reasons. First, check if the battery is charged properly. Insufficient charging can cause the device to stop. Next, ensure that the dirt bin is empty and the filter is clean.
Blockages can disrupt movement and suction. Also, check if any sensors or brushes are clogged or damaged. Dirty sensors or tangled brushes can hamper the vacuum’s functioning. Make sure the wheels are not jammed or obstructed. Obstacles can prevent movement and impact the vacuum’s performance.
Verify that the device is connected to a stable Wi-Fi network and that the mobile app or remote control is working correctly. If the problem persists, consult the user manual or contact customer support for further assistance.
How Many Years Do Robot Vacuums Last?
Robot vacuums typically last for about 5 to 7 years. The lifespan of a robot vacuum depends on various factors like the quality of the product, frequency of use, maintenance, and the type of flooring it is used on. Regular cleaning and maintenance, such as emptying the dustbin and cleaning the brushes, can help extend the life of the robot vacuum.
Some higher-end models come with replaceable parts, allowing users to replace worn-out components and prolong the vacuum’s lifespan. Investing in a well-known and reputable brand can also contribute to a longer-lasting robot vacuum. However, it’s important to note that individual experiences may vary, and the lifespan could differ based on usage patterns and overall handling of the appliance.
How Do I Get My Robot Vacuum To Work?
To get your robot vacuum to work, follow these steps:
1. Charge the vacuum by connecting it to the charging dock.
2. Clear the floor of any objects or obstacles that could interfere with the vacuum’s movement.
3. Press the power button to turn on the vacuum.
4. Set the cleaning mode, such as auto or spot cleaning, using the control panel or mobile app.
5. If necessary, schedule cleaning times using the timer function.
6. Press start or initiate cleaning through the app to begin the vacuuming process.
7. Monitor the vacuum’s progress and make sure it reaches all areas that need cleaning.
8. When the battery is low, the vacuum will automatically return to the charging dock.
9. Empty the dustbin regularly to maintain the vacuum’s efficiency.
10. Enjoy having a clean floor without the hassle of manual vacuuming.
Conclusion
Fixing a robot vacuum is not as daunting as it may seem. By following the troubleshooting steps outlined in this guide, you can easily identify and resolve common issues that may arise with your device. Remember to start with the basic steps, such as checking the power source and cleaning the sensors.
If the problem persists, consult the user manual or contact customer support for further assistance. Regular maintenance, including emptying the dustbin and cleaning the brushes, will help prevent future malfunctions. Taking the time to understand your robot vacuum and the steps to fix it will save you time and money in the long run.