How to Fix a Rubbermaid Mop Bucket Wringer | Quick Repair Tips
To fix a Rubbermaid mop bucket wringer, first identify the issue, such as a jammed handle or disconnected spring. Next, refer to the user manual for troubleshooting tips or contact customer support for specific guidance on repairs or replacements.
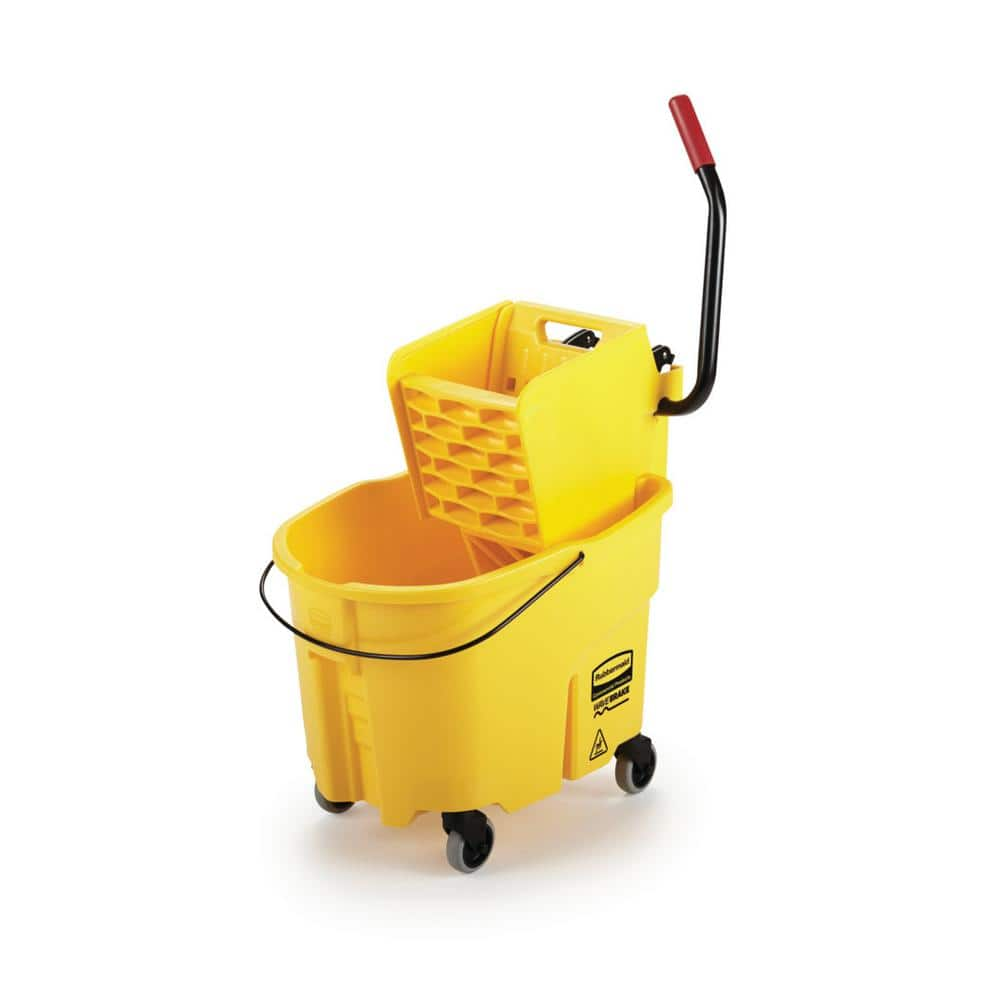
Maintaining your cleaning equipment is essential to ensure efficiency and longevity, particularly when it comes to a Rubbermaid mop bucket wringer. These tools are crucial for commercial and residential cleaning, offering quick mop drying to keep your spaces spotless. Over time, you might encounter problems like a stuck wringer or a broken mechanism, which can slow down your cleaning process.
With durability and user-friendly design in mind, Rubbermaid products generally provide an intuitive path for troubleshooting and repair. This introduction sets you on the right track to addressing common issues with your mop bucket wringer yourself, arming you with practical advice to restore functionality and keep your cleaning routine uninterrupted.

Credit: m.youtube.com
Common Issues With Rubbermaid Mop Bucket Wringer
Dealing with stuck wringer mechanisms in your Rubbermaid mop bucket can be frustrating. First, ensure the wringer is clean from any debris. Often, dirt can cause blockages. A gentle lubrication with WD-40 can assist if debris isn’t the issue.
Should the problem persist, inspect for broken wringer springs. These springs are crucial for proper function. If you spot a damaged or dislodged spring, replacement is straightforward. Springs can usually be ordered from the manufacturer or hardware stores. Always unplug and empty the bucket before attempting repairs to avoid injuries.
| Issue | Solution |
|---|---|
| Dirty Mechanism | Clean and lubricate with WD-40. |
| Damaged Spring | Replace with new spring. |
Preparation For Troubleshooting
Before troubleshooting a Rubbermaid mop bucket wringer, ensure you have the right tools. These typically include pliers, screwdrivers, and lubricant. Keep them within reach to make the process smoother.
Safety is paramount when repairing your mop bucket. Wear protective gloves to prevent injuries. Ensure the workspace is dry and well-lit. Always disconnect the wringer from any attachments before starting. This prevents unexpected mishaps.
Step-by-step Repair Guide
Detaching the wringer requires turning the mop bucket upside down. Find the clip or pins that hold the wringer. Press or slide these to release the wringer. Make sure the bucket is stable to avoid any accidents. Lift the wringer gently once detached.
To identify faulty components, check for broken or worn parts. Examine the springs, clips, and gears. Any sign of rust or damage means it’s time for replacement. Missing or loose parts will also need attention.
Replacing springs and parts is straightforward. Align new springs with the attachment points on the wringer. Secure them in place, ensuring they have the right tension. Replace other broken parts by fitting them into their respective positions. Test the mechanism by pressing down to ensure it operates smoothly.
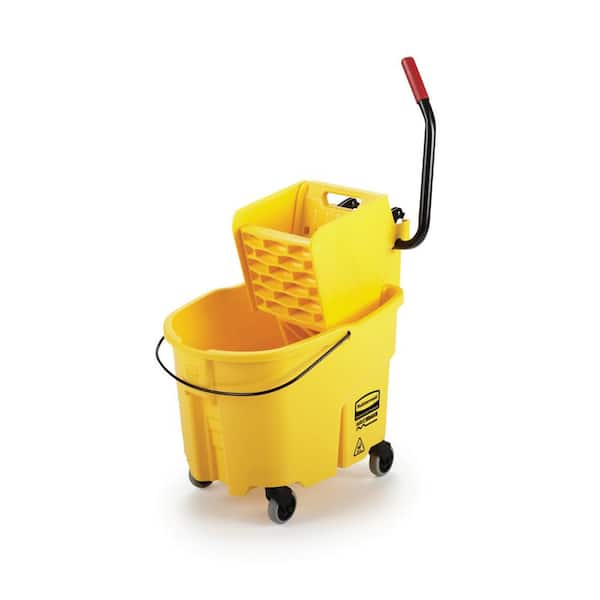
Credit: www.homedepot.com
Diy Repair Tips
Fixing a Rubbermaid mop bucket wringer can feel daunting, but it’s simple with the right steps. Lubricating moving parts is a key process. Apply a silicone-based lubricant to any stiff joints or gears. Make sure not to use oil-based products as they can attract dirt.
To adjust tension, identify the tension spring on the wringer. Use pliers to gently adjust the spring. This ensures a smoother wringing action. Be careful not to overstretch the spring, which could lead to damage.
DIY solutions, like using a mixture of water and vinegar, can help clean and maintain the bucket. Spray on the wringer mechanism and wipe down to remove grime and buildup. Routine care prevents stiffness and keeps the mop bucket in top shape.
Maintenance To Prevent Future Issues
Maintaining your Rubbermaid mop bucket wringer requires routine cleaning. Begin by disassembling the wringer. Wash each part with soap and warm water. Dry thoroughly before reassembling.
Regular inspections are crucial to spot wear and tear. Check for broken parts. Replace them immediately to avoid further damage.
Apply proper usage techniques. Don’t overload the bucket. This can strain the wringer. Use the handle smoothly to prevent malfunctions.

Credit: m.youtube.com
When To Seek Professional Help
Recognizing Complex Issues with a Rubbermaid Mop Bucket Wringer means knowing its normal function. Signs of trouble include a wringer that won’t squeeze or release properly. A broken mechanism could be the culprit. Persistent leakage or a handle that sticks may also point to more serious problems. These signs suggest the need for professional assessment.
Seeking out Finding Reliable Repair Services is key for long-lasting fixes. Start by checking the manufacturer’s website for authorized service centers. Online forums or local hardware stores can also recommend trustworthy technicians. Ensure they possess a track record of success with mop bucket repairs. Quality repair services will save time and extend the life of your equipment.
Conclusion
Repairing your Rubbermaid mop bucket wringer doesn’t have to be daunting. With the right steps, you’ll have it functioning smoothly again. Remember to always prioritize safety and work gently to avoid damage. Happy cleaning, and may your floors shine with less effort and no wringer woes!