How to Easily Disassemble a Shark Robot Vacuum: Step-by-Step Guide
To take apart a shark robot vacuum, remove the dustbin and brushroll. Then, remove the screws and disassemble the unit.
Shark robot vacuums are a popular choice for those who want convenient and efficient cleaning of their homes. However, like any other device, they may need maintenance or repair. Knowing how to take apart your shark robot vacuum is important if you need to troubleshoot any issues or replace a part.
This task may seem daunting, but with the right tools and approach, it can be accomplished easily. In this article, we will guide you through the steps on how to take apart a shark robot vacuum, allowing you to clean and maintain your device to keep it running for years to come.
Step-By-Step Guide
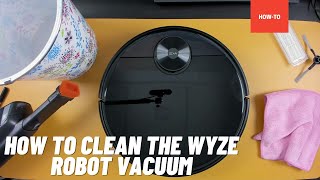
Taking apart and cleaning a shark robot vacuum may seem daunting and time-consuming, but with the right tools and a step-by-step guide, it’s a straightforward process. Follow the instructions below to disassemble your shark robot vacuum.
Step 1: Gather The Required Tools
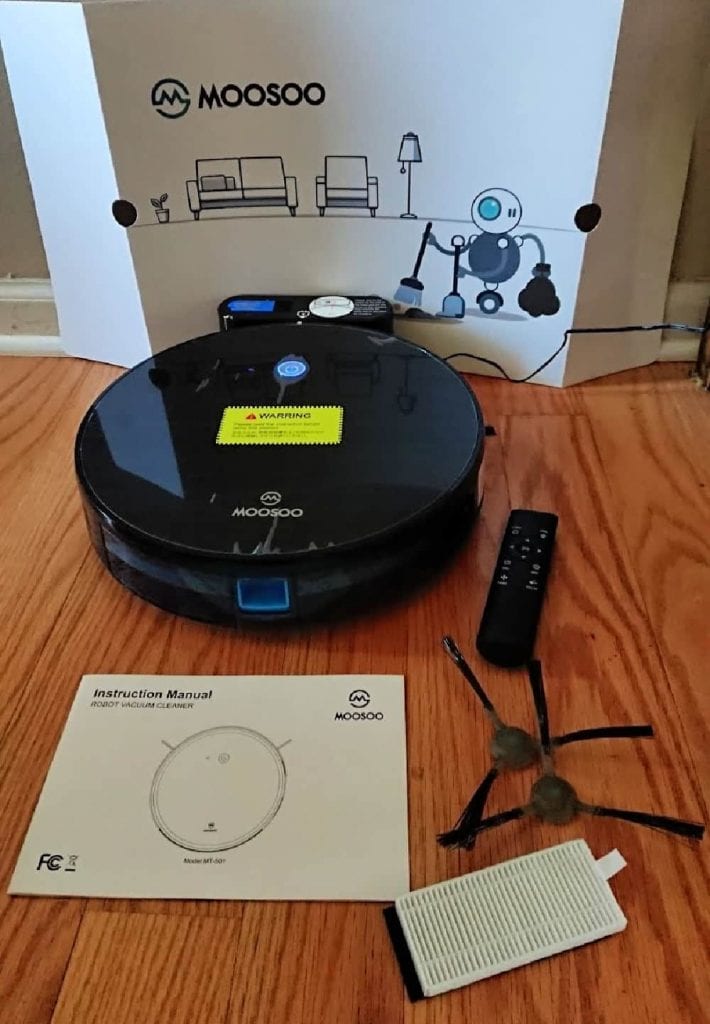
Before you start taking apart the shark robot vacuum, you need to gather the necessary tools for the job. Here’s what you need:
- Screwdriver
- Soft-bristled brush
- Cloth or towel
Step 2: Remove The Dustbin And Brushes
The first step is to remove the dustbin and brushes. Here’s how:
- Open the dustbin compartment and remove the dustbin
- Gently pull out the brushes from the bottom of the vacuum
- Use a soft-bristled brush to clean any debris or hair from the brushes and brush chamber
Step 3: Remove The Side Brushes And Filter
Next, remove the side brushes and filter:
- Remove the side brushes by pulling them outwards
- Twist the filter counterclockwise to remove it from the vacuum
- Clean the filter using running water and let it dry completely before putting it back in the vacuum
Step 4: Remove The Battery And Main Motor
Now, it’s time to remove the battery and main motor:
- Remove the back cover of the vacuum by unscrewing it with a screwdriver
- Gently pull the battery out of the compartment
- Locate the main motor and unscrew it using a screwdriver
- Lift the motor out of the vacuum
Step 5: Disassemble The Robot Vacuum Body
You’re almost there! It’s time to disassemble the robot vacuum body:
- Remove the front cover of the vacuum by unscrewing it with a screwdriver
- Remove the bumper by gently pulling it out
- Unscrew any visible screws on the top of the vacuum
- Lift the top cover off the vacuum
Step 6: Clean And Reassemble
The final step is to clean and reassemble the vacuum:
- Use a soft-bristled brush to remove dust and debris from the vacuum body
- Wipe down all parts with a damp cloth or towel and let them dry completely
- Follow the above steps in reverse to reassemble the vacuum
And there you have it! By following this step-by-step guide, you can take apart and clean your shark robot vacuum with ease.
Tips And Tricks
Tips And Tricks For Smooth Disassembly And Reassembly Of Shark Robot Vacuum
Have you ever faced problems when disassembling and reassembling your shark robot vacuum? If not handled properly, you may accidentally break some parts of your vacuum. To make sure that you go through the smooth process of disassembly and reassembly, here are some tips and tricks that you should follow:
Key Points:
- Before disassembling the shark robot vacuum, make sure that you disconnect it from the power source to avoid any electrical hazards.
- Only disassemble a shark robot vacuum if you have the appropriate tools, including a phillips screwdriver, a flathead screwdriver, and a pair of pliers.
- Keep all the screws and bolts in one place as you disassemble the vacuum. It will help you to locate them easily when you start the reassembling process.
- When you’re removing the screws, do it slowly and gently, and apply even pressure. If you apply too much pressure, you risk breaking some of the plastic parts.
- Don’t forget to document the process of disassembly by taking photos or labeling the parts to remember which part goes where.
- When reassembling the vacuum, refer back to how you disassembled it. It will help ensure that you put all parts back in their proper position.
Mistakes To Avoid:
While disassembling your shark robot vacuum, it is important to be careful and avoid common mistakes to prevent injuring yourself or damaging the vacuum. Common mistakes to avoid include:
- Not turning off the shark robot vacuum or unplugging it before disassembling it. This can lead to electrical shock or damage to the vacuum.
- Using the wrong tools or using excessive force when removing parts. This can lead to breaking the vacuum’s parts and making the process of reassembling more challenging.
- Not keeping track of the disassembly process. Loss of a screw or misplacing parts can lead to confusion when you start reassembling the vacuum.
- Not consulting the manufacturer’s manual. The manual provides guidance on what to do and what not to do when disassembling a shark robot vacuum.
By following these tips and tricks, you can make sure that the disassembly and reassembly process for your shark robot vacuum is smooth and hassle-free. Take your time and be careful when disassembling the vacuum to avoid any damage or harm.
Frequently Asked Questions On How To Take Apart A Shark Robot Vacuum
How Do I Access The Shark Robot Vacuum Battery?
To access the battery, turn off the device and remove the dustbin. Locate the battery and remove it from its holder.
What Tools Do I Need To Disassemble The Shark Robot Vacuum?
You’ll need a phillips head screwdriver, a flat head screwdriver, a plastic opening tool, and a pair of needle-nose pliers.
Can I Wash The Shark Robot Vacuum’S Dustbin?
Yes, the dustbin is washable. Remove it from the vacuum and wash it thoroughly with warm water and dish soap.
How Do I Remove Hair And Debris From The Shark Robot Vacuum Brush Roll?
Turn off the vacuum and remove the brush roll. Use scissors or a seam ripper to cut off tangled hair and debris.
What Should I Do If My Shark Robot Vacuum Stops Working?
Check the battery level, clear any blockages or tangled debris, and clean the brush roll. If issues persist, contact shark customer service.
Conclusion
As we draw to a close, it’s evident that taking apart your shark robot vacuum is no longer an impossible task. Whether it’s because of clogged dirt, broken parts or general maintenance, disassembling this machine has never been easier. From the first step to the last, you’ve learned how to tackle the process with ease and agility.
Implementing the tips in this blog post will save you time and money in the long run, not to mention avert any unnecessary damage. Remember, the most vital part of the whole process is to exercise caution every step of the way to avoid any harm or injury.


